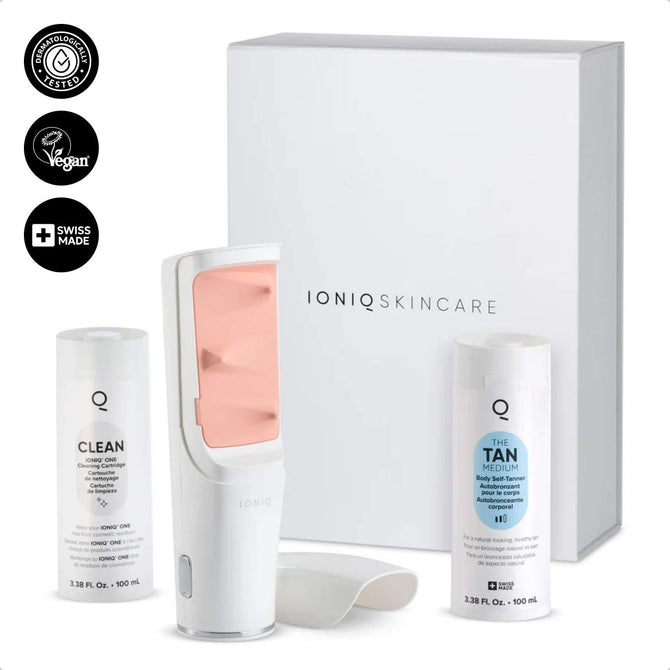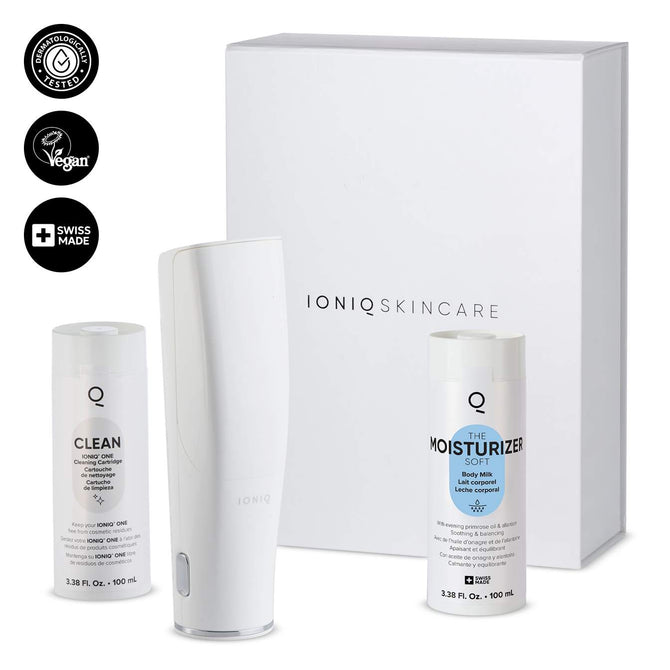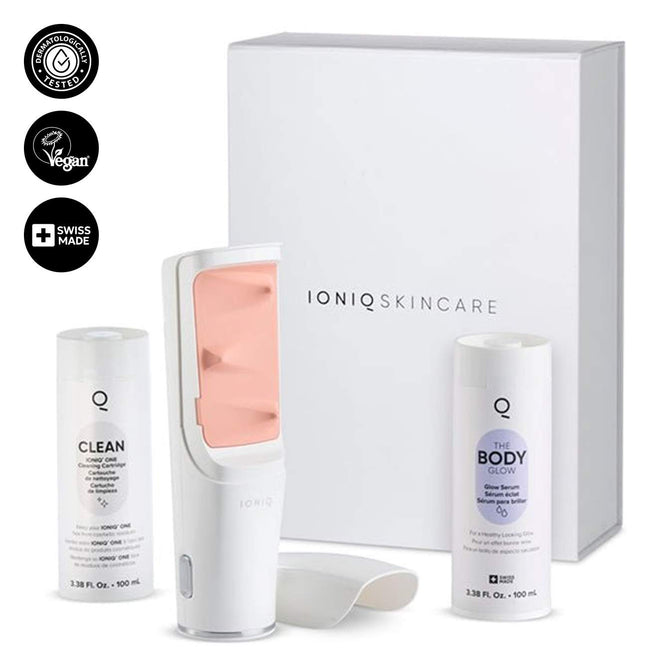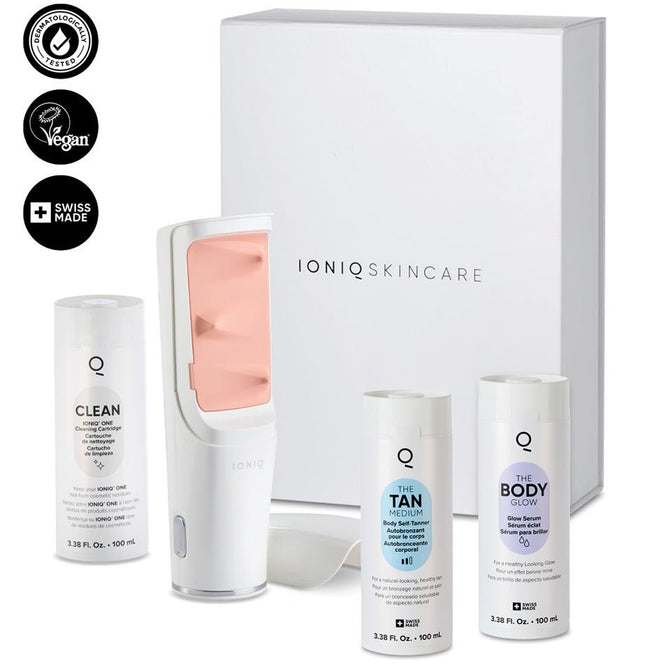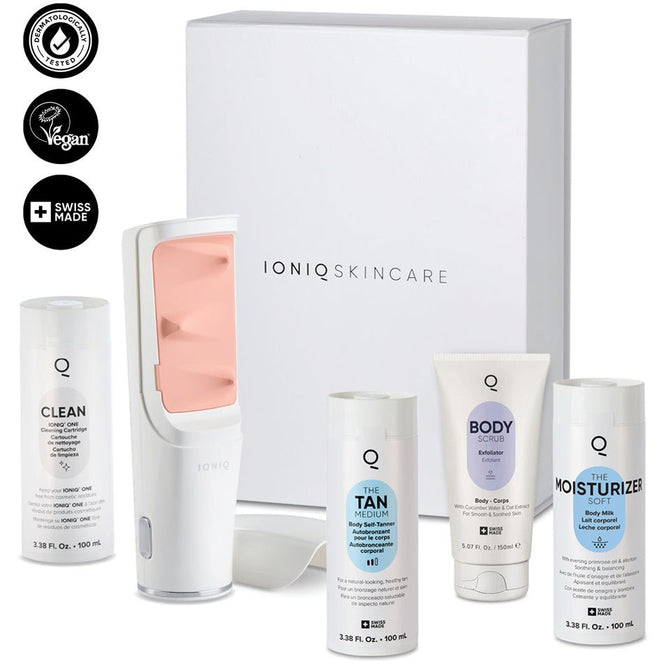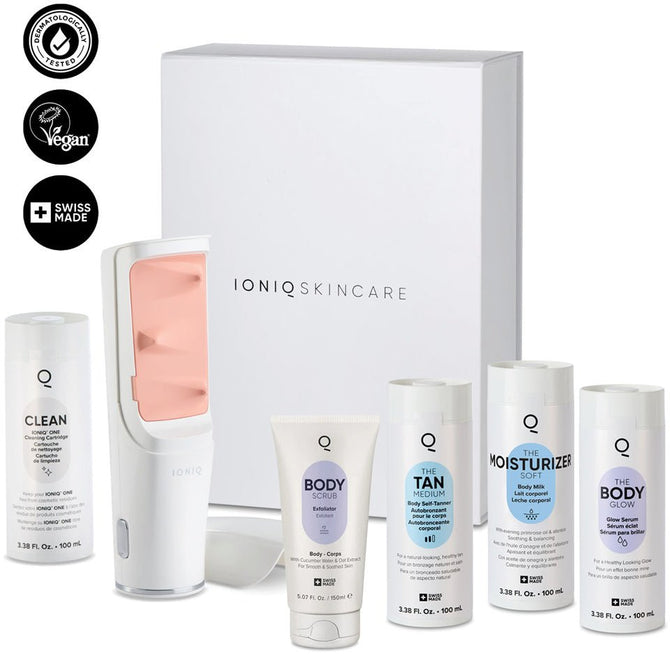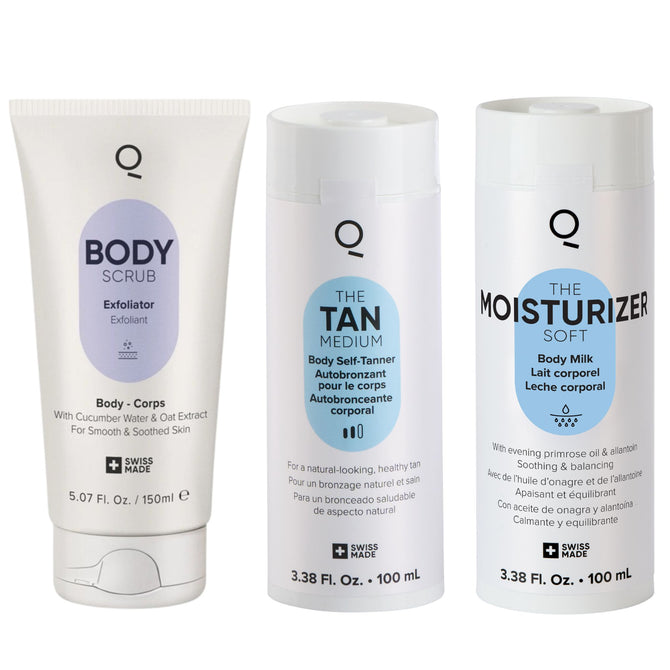
Here are our favorite tips to help prepare your skin for the perfect tan with your IONIQ sprayer.
 |
EXFOLIATE & REMOVE HAIR Exfoliate and remove hair 24 hours before you apply your IONIQ tan. This prepares your skin and allows for a perfect base for your tan. If you do not shave, you can still successfully apply the tan due to IONIQ technology. Hair is neutrally charged, which allows the droplets to pass through to the skin. The tanning only reacts with the top layer of skin and not with the hair. |
 |
CLEANSE SKIN Cleanse your skin thoroughly with a mild soap. |
 |
AVOID PERFUME & DEODORANT Avoid wearing deodorant and perfumes when applying the tanner. These can prevent the tan from penetrating the skin and can leave you with streaks or patches. To make this easier, we recommend applying your tan in the evening. |
 |
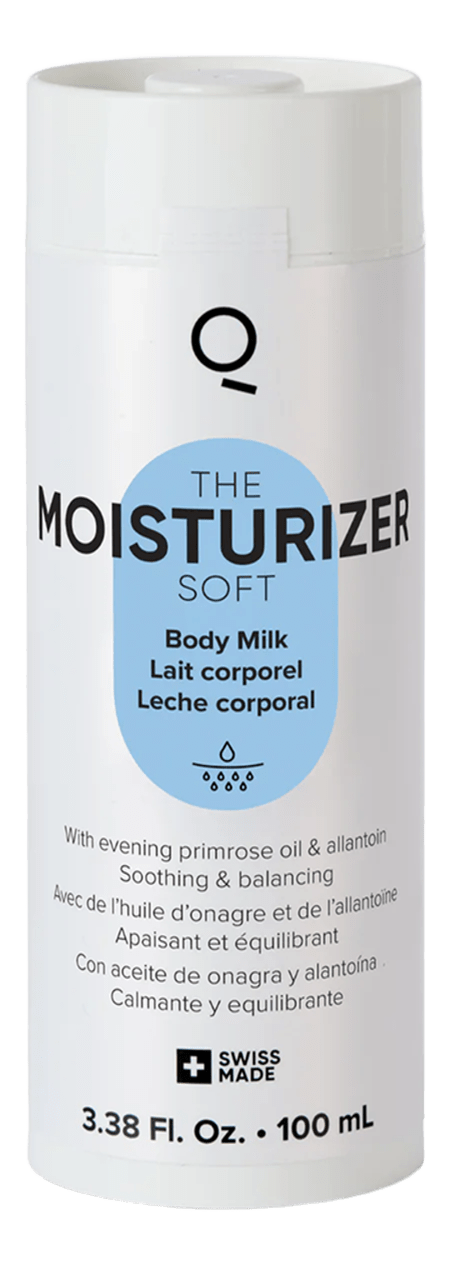
MOISTURIZE DRY AREAS Treat dry areas such as elbows, knees or feet with moisturizer right before applying your IONIQ tan. This is to prevent these areas from over-absorbing the tan, which could lead to dark spots. Ensure all moisturizer has fully absorbed before applying your tan. |
Getting a perfect self-tan isn’t just about grabbing a bottle of self-tanner and going to town. It’s about taking the time to prep. Seriously, skin prep work can totally change the game. There are a few steps you can follow that really make your skin look way better. Over the years, I’ve picked up a bunch of tips for prepping your skin for self-tanner, and I’m excited to share them with you.
Magnetic Skin Technology
IONIQ Skincare’s wraparound effect ensures that every drop of mist sticks to your skin like a magnet
1. Exfoliate a Day Before Tanning
Why Exfoliation Is Key
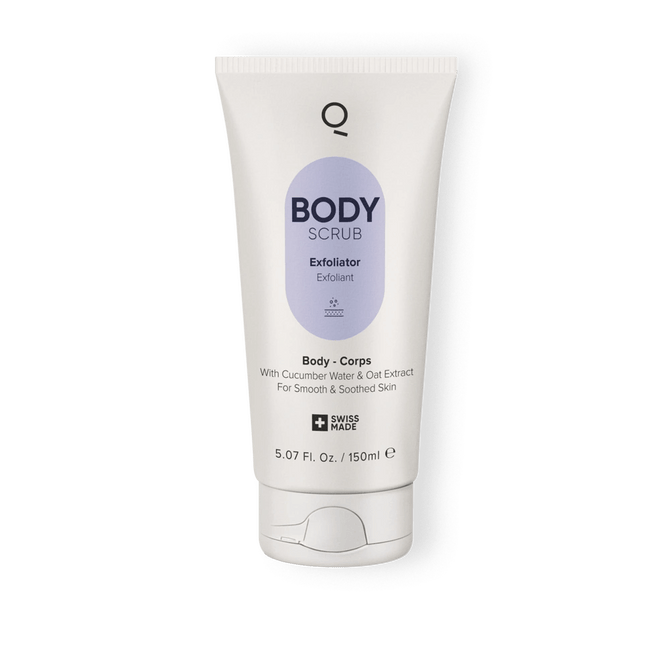
Okay, so let’s get one thing straight—exfoliating is not optional. Seriously, don’t skip it. I know because I’ve been there. At first, I thought, “Exfoliate? Nah, I can skip that part.” Big mistake. Exfoliating removes dead skin cells, preparing a smooth base for the self-tanner to work with. Exfoliation is key to preparing your skin and making sure it doesn’t end up patchy or dry.
The Right Way to Exfoliate
So, how do you get this right? It’s simple. Just don’t exfoliate and tan on the same day. Give your skin at least 24 hours to chill. I know, it feels like extra prep time, but it makes a huge difference. Focus on the dry spots (like your elbows, knees, and ankles), but don’t go overboard. You don’t need to scrub your skin raw—just enough to prepare your skin and get rid of dead cells. And after exfoliating, make sure to moisturize those dry areas. That’ll help your tan go on smooth without any weird dark patches. Simple prep steps, but they’re game-changers.
“Device's key ingredient (DHA) for tanning is FDA-approved”
“It creates a streak-free, beautiful bronze without the help of a pro.”
“Achieving an even, sun-kissed glow has never been easier”
“Perfect DIY spray tan with ease and no mess.”


If You Do This Prep Step Wrong with a Regular Self-Tanner
Skipping exfoliation leads to patchy, dry skin. And exfoliating right before self-tanning isn’t the best move either. You’re opening up your pores, which means regular self-tanner can sink in unevenly, leaving you with dark spots or streaks. I’ve been there. My knees and elbows? Totally dry and way darker than the rest of my body. And my feet—oh man. Completely out of sync with the rest of me. Honestly, it’s frustrating. The more you skip the prep steps, the more you have to fix later, and it’s just not worth it.
No Need to Exfoliate with IONIQ One Sprayer + TAN
Honestly, if you skip exfoliating with the IONIQ One Sprayer + TAN, nothing major happens. Thanks to the unique technology, the self-tanner still goes on evenly, even if you haven’t properly prepared your skin. IONIQ’s formula works with all skin types, so it’ll apply smoothly without clinging to dry patches. Of course, exfoliating is always a good prep step for a smoother finish, but with IONIQ, you’ve got more flexibility if you’re in a rush or just didn’t get around to preparing your skin.
2. Remove Hair 24 Hours Before Tanning
Why You Should Wait a Day
Shaving or waxing right before applying self-tanner? Yeah, that’s also a big no-no. After you remove hair, your pores stay open for a while. Giving your skin time to recover and prep lets your pores close up, so your self-tanner goes on nice and even, without any weird blotches.
Smart Tanning. Visible Results.

Worth its weight in gold!
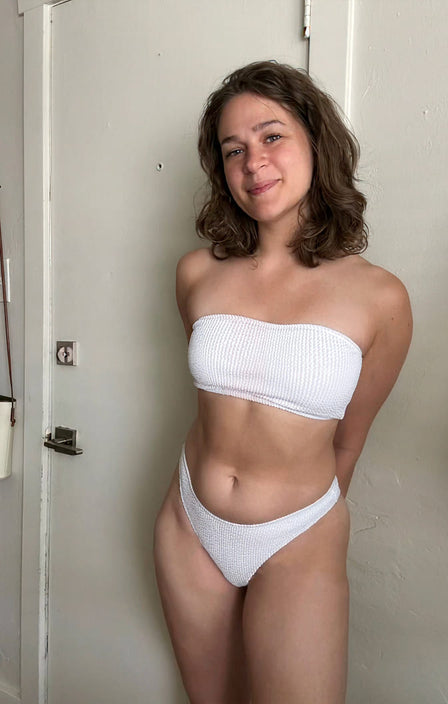
"I use self tanner in the summer and I usually hate it.
Even after years of use I usually still have streaks or dark spots somewhere where I misapplied. Then I had to worry about my sheets and clothes being stained and the horrible smell.
It’s incredible! So easy to use, I swear I made myself nervous reading the instructions over and over for no reason. I have never in 30+years of tanning had such an easy experience."

Great product!!
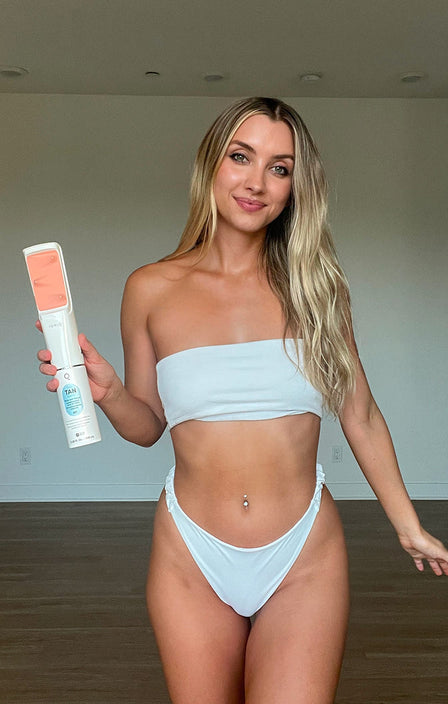
"I’ve tried practically everything out there over the last 30 years.
I had an allergic reaction to most of them so I opted for tanning beds and the good old sun. I got melanoma 2015 so that stopped all types of tanning.
Until now. Wow!!
Technology has improved so much!
I’m amazed at how easy it is to use as well as how absolutely flawless it looks!"


Sincere IONIQ Tanner
"Wow! I took a chance and bumped the color up a notch to dark !!!! I received so many compliments on how even and smooth my tan looks on my face!!
What a high compliment to YOU and YOUR product and to me, because I follow the application instructions :)
Thank you for the prompt receipt of my orders placed AND thank you for caring enough about your product, to inquire about my personal preference and addiction to IONIQ SKINCARE.
Thank you for the gifted product."
How to Get Hair Removal Right
To avoid all that mess, just make sure you shave or wax at least 24 hours before you apply self-tanner. It’s really that simple. Properly preparing your skin makes all the difference.
If This Prep Step Done Wrong with a Regular Self-Tanner
You’re setting yourself up for uneven results. Your pores are still open, and the self-tanner sinks into them, leaving you with dark spots and streaks. I’ve been there—dark patches all over my legs, and no amount of fixing made it look any better. It’s frustrating. Skipping this prep step can make your tan look uneven and patchy, and no one wants that.
Skip Shaving and Waiting with IONIQ One Sprayer + TAN
If you skip shaving, you can still apply the tan successfully with IONIQ’s technology. Thanks to how hair is neutrally charged, the tanning droplets pass right through it and go straight to your skin. The self-tanner only reacts with the top layer of your skin, so no worries about it sticking to the hair. This makes the whole process way easier and more forgiving, even if you’re in a rush and don’t have time to shave. It’s that simple—no extra prep required!
3. Avoid Deodorants and Perfume
Why Skip Deodorant and Perfume Before Tanning
Deodorant and perfume are great, but not right before you tan. I know, it seems like no big deal, right? But if you want your tan to look its best, you’ve got to skip them. Deodorant and perfume can block the self-tanner from sticking evenly. Plus, some deodorants can actually react with the self-tanner, turning your skin a weird greenish color. I’ve made that mistake before, and let me tell you, it’s not pretty. Just skip those products when prepping for a tan.
If You Don’t Skip Perfume or Deo with a Regular Self-Tanner
Oh, you’re pretty much asking for an uneven, patchy tan. When deodorant gets on your skin, it can mess with how well the self-tanner adheres, leaving you with streaks or dark spots in places you don’t want them. Same goes for perfume—it can cause the self-tanner to slide off, especially if you use strong, fragrance-heavy products. I’ve had perfume stains on my clothes transfer onto my skin after I tan, and it’s just a mess you don’t need. You’ll soon see that skipping this this prep step is one of those small things that makes a big impact on your final result.
Don’t Worry About This with IONIQ One Sprayer + TAN
With the IONIQ One Sprayer + TAN, you can actually wear deodorant and perfume before you apply your self-tanner, which is pretty awesome. Normally, I’d avoid putting on anything scented before tanning because it can mess with how the tan goes on, leaving streaks or uneven patches. But with IONIQ’s tech, it’s no big deal. Their formula works around deodorants and perfumes, so you don’t have to worry about your scent or your tan not blending well. Plus, you can smell good while you get your tan, which is a win in my book!
4. Pick the Right Tan Shade
Why Picking the Right Tan Shade Is So Important
Okay, let’s be real—choosing the right tan shade is kind of a big deal. If you pick one that’s too dark, you end up looking like you’ve been dipped in paint, and if you go too light, you might as well not even bother. I’ve been there. The first time I tried self-tanner, I went a little too dark, thinking it would make me look bronzed and glowing. Spoiler alert: it didn’t. I looked more like a tangerine than a sun-kissed goddess. It was a mess, and I was frustrated. So, picking the right shade is about preparing for that perfect balance. You want something that gives you a natural glow, not something that screams, “I’m wearing self-tanner!”
The Struggles of Picking the Wrong Shade
Honestly, I’ve been down both paths. Too dark? You’re left with streaks, blotches, and a tan that’s way too intense for your skin. It’s like you’ve tried too hard, and no one needs that. Too light? Well, you end up with a barely-there glow that’s more “I spent 5 minutes in the sun” than “I’ve got a tan.” I remember once trying a super light self-tanner because I didn’t want to go too dark. I ended up with a weird, almost invisible tan that left me wondering why I even bothered. It just didn’t look right. Finding the right shade really does take some experimenting and preparation. You’ll notice the difference. It's worth it to get it just right.
How to Pick the Right Tan Shade for You
Here’s the trick: think about your natural skin tone. If you’re fair, go for a light to medium shade. Too dark and you’re risking looking like you got into a fight with a bottle of self-tanner. For medium or tan skin, you’ve got more options. You can go for something a little darker, but don’t go overboard. My rule of thumb is to pick a shade that’s one or two levels darker than your natural skin. It gives that perfect, sun-kissed look without going too far. Also, look at the undertones of the self-tanner. Some have a more olive or green tint, and they’re usually the most natural-looking. I personally stay away from anything with too much orange in it. After a little trial and error, preparing your skin and picking the right shade will give you the glow you’re after.
How to Pick the Right Tan Shade of IONIQ TAN
Okay, so picking the right shade with IONIQ really comes down to how deep you want your tan to be.
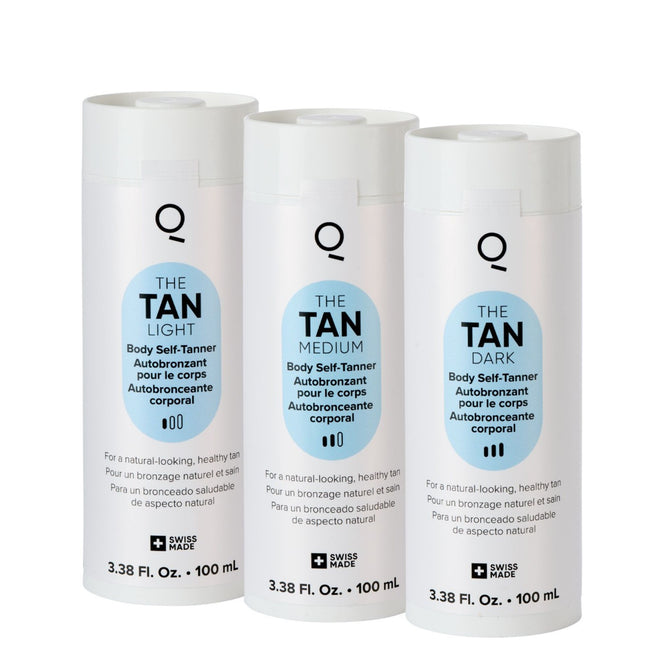
If you’re super fair or just want a light, barely-there glow, The TAN Light is your best bet. I use this one when I want a really subtle, sun-kissed look, nothing too intense. It’s great for those days when you want just a touch of color, but nothing too heavy. It gives you that “I’ve been out in the sun for a while” look without going overboard.
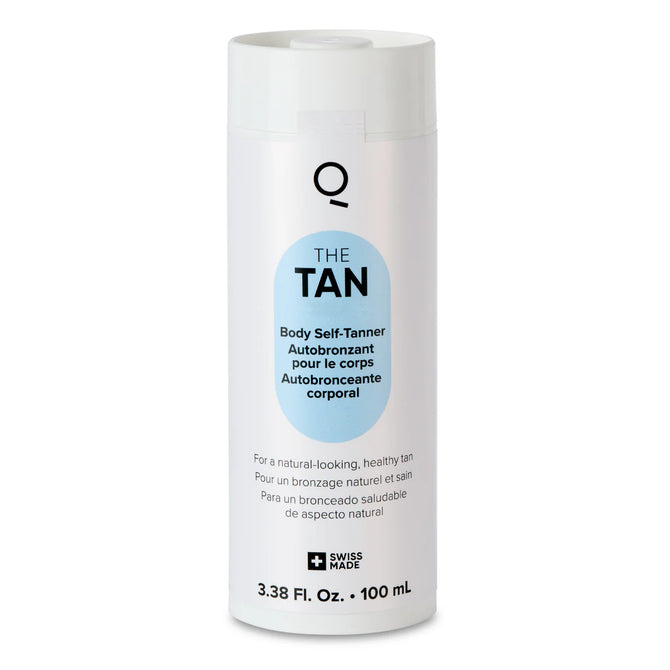
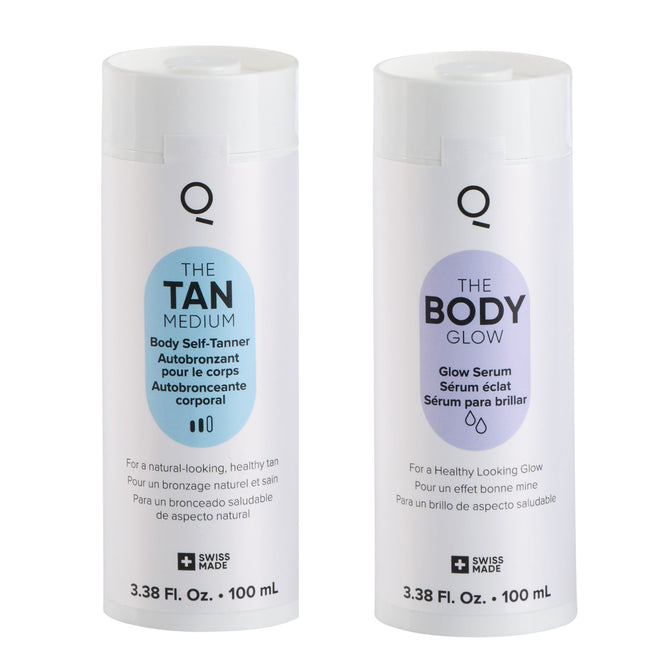
Now, if you’re after something that stands out a bit more but still looks natural, The TAN Medium is the way to go. This one’s great for most skin tones and gives you that bronzed look without looking overdone. I’ve used this when I want to feel a bit more glowy, but still keep it chill.
Finally, if you’re all about a deep, vacation-style tan, The TAN Dark is your go-to. It’s bold, it’s rich, and it gives you that full-on bronze glow. I’ve used this when I’m craving that deep tan that just screams summer. It’s perfect for when you want to look like you’ve been soaking up the sun all week.
So, just pick what feels right—light, medium, or dark—there’s really no wrong choice, just go with what fits your vibe!
Shop Now
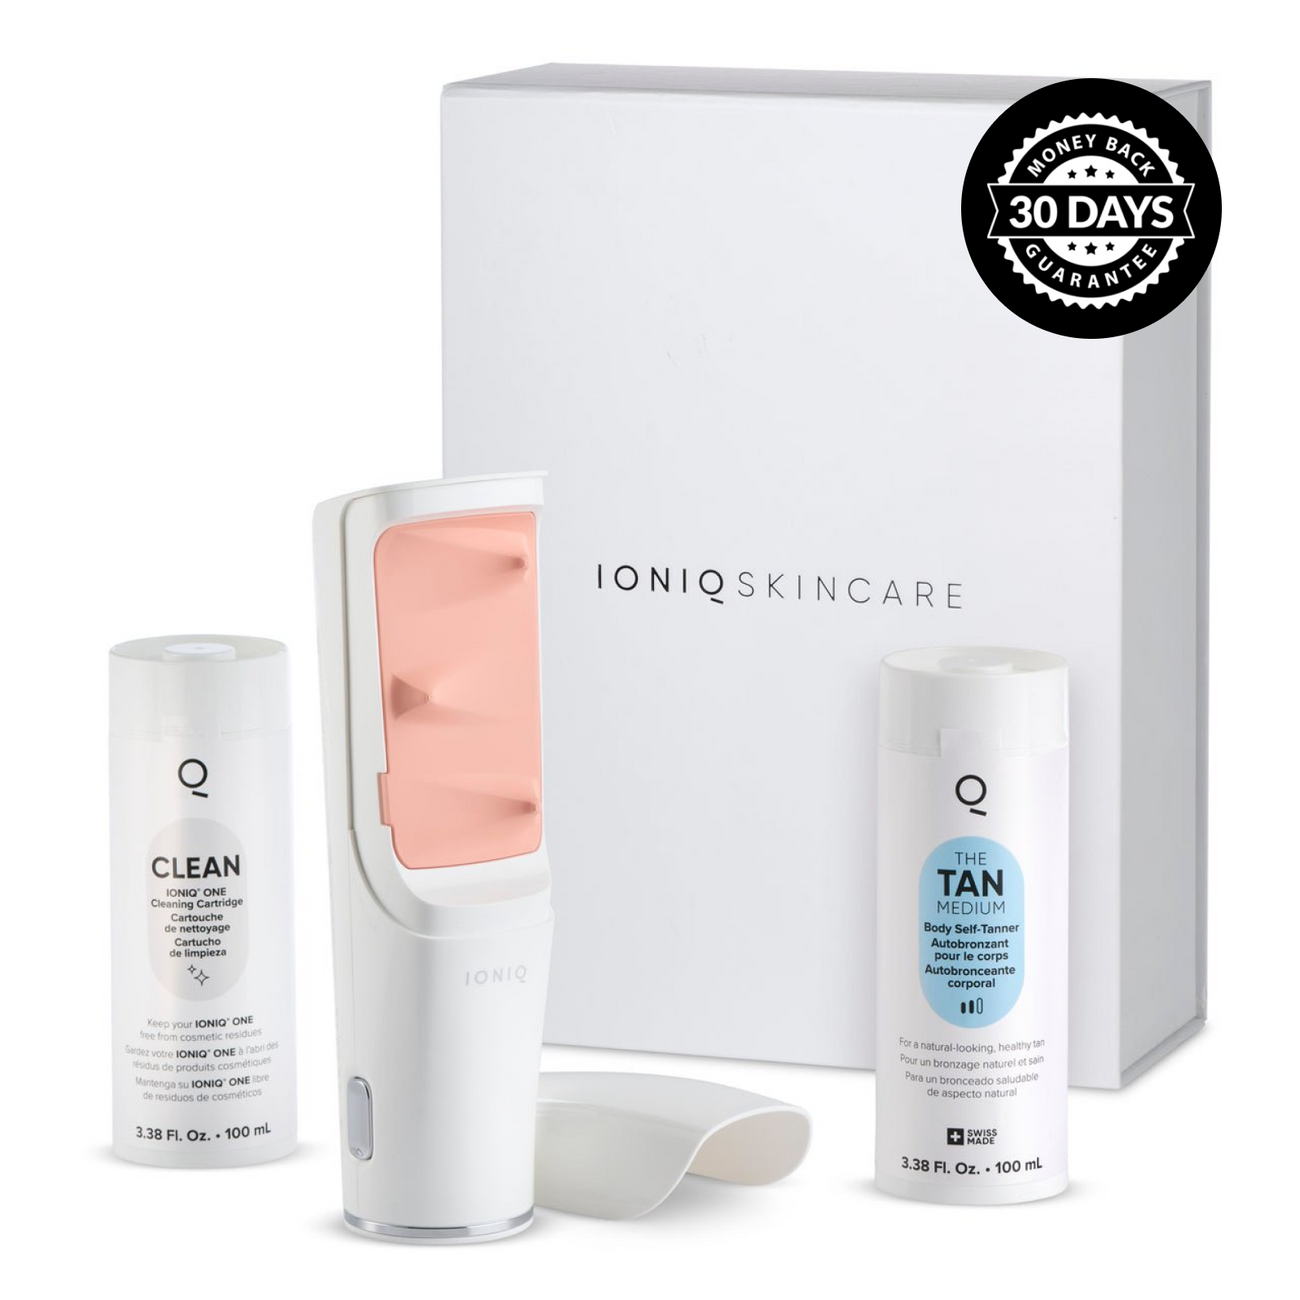
The IONIQ ONE Sprayer
+ TAN Bundle
From holiday parties to family gatherings, achieve a flawless tan that lasts all season.
Wrapping It All Up
So, when it comes to prepping your skin for self-tanner, it really boils down to a few steps that make all the difference. You want to exfoliate at least a day before applying, moisturize, and give your skin time to breathe. Don’t rush through it—shaving or waxing a day before is also needed. Choosing the right shade of self-tanner is just as important as the other preparation steps. Start light and work your way up if you’re unsure—there’s no need to go for a deep bronze on your first try.
Prep Work Is Not Necessary with IONIQ One Sprayer + TAN
With the IONIQ, you can skip all the usual prep work. No need to shave, wax, or exfoliate. The magic happens because the IONIQ skincare product is negatively charged, and your skin naturally has a positive charge, so almost every drop of the mist lands exactly where it should. The result? A flawless, even tan—no fuss, no prep. It’s as easy as spraying and letting the tech do all the work. So go ahead, give it a try, and enjoy that flawless glow. Here’s to a perfect tan!

