

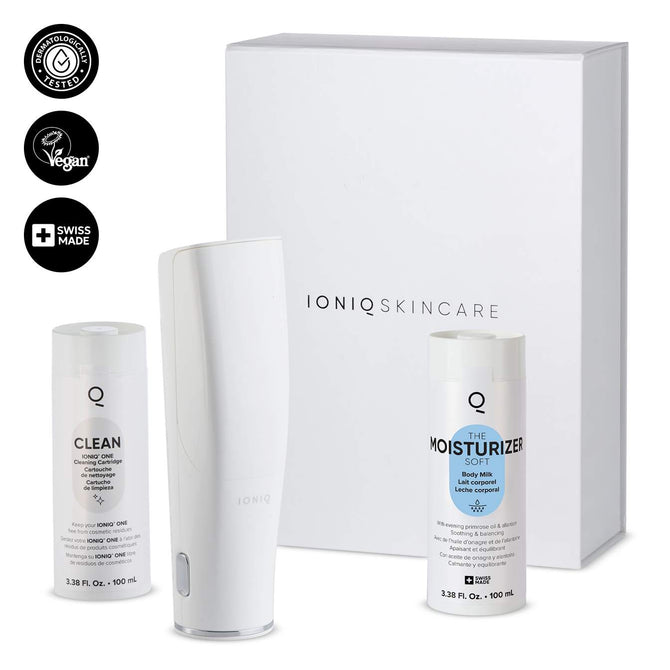


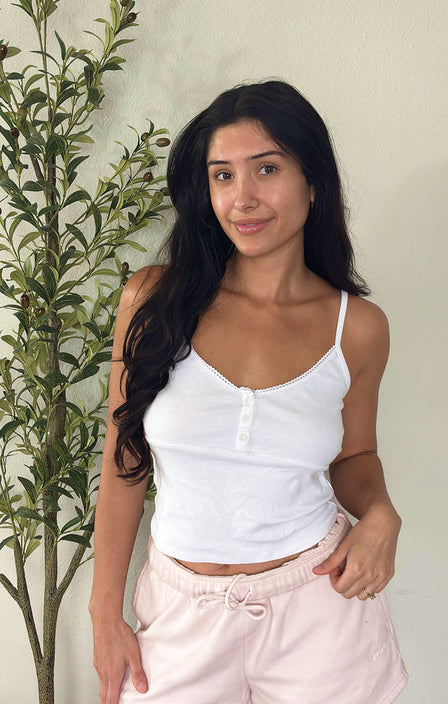
Let’s face it: bad self-tanner is the worst. Streaky knees, orange palms, and that weird biscuit smell? No thanks. But what if you could get a salon-quality tan without leaving your bathroom? Whether you’re after a deep bronze glow or a subtle sun-kissed radiance, the best self-tanner should be easy to apply, streak-free, and smell like something you’d actually wear outside. Luckily, today’s home self-tanner options are smarter, faster, and more skin-friendly than ever before. Think hydrating ingredients like hyaluronic acid, transfer-proof technology, and instant bronzing tints that help you never miss a spot.
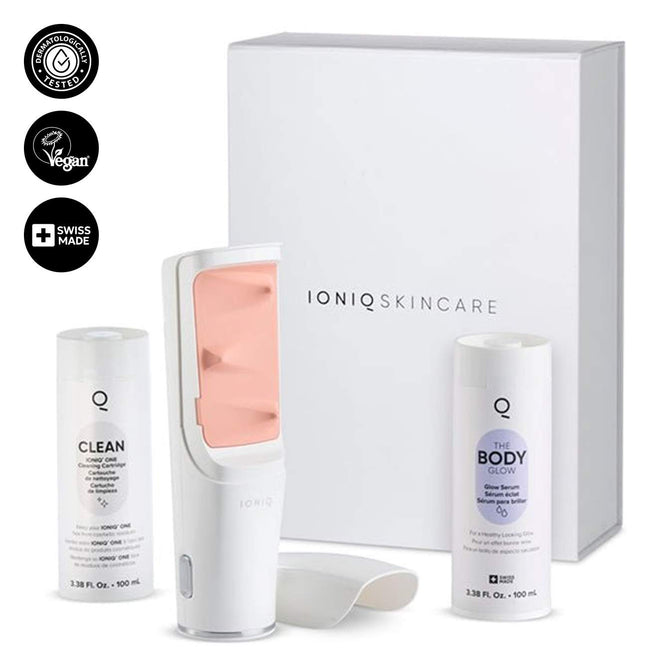
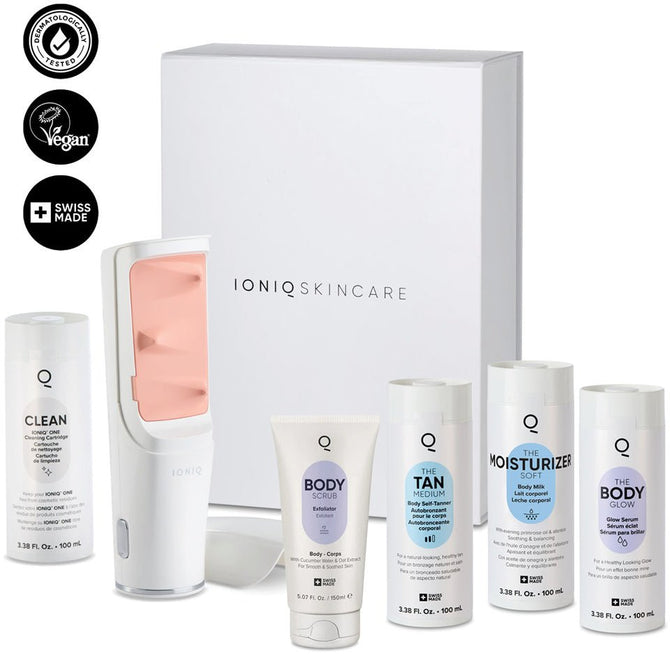
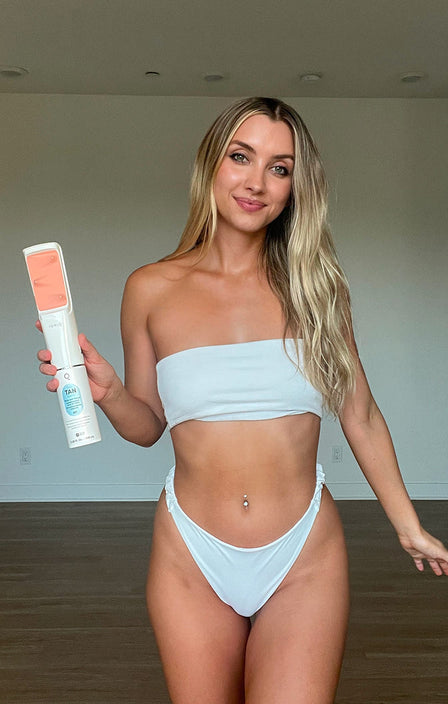
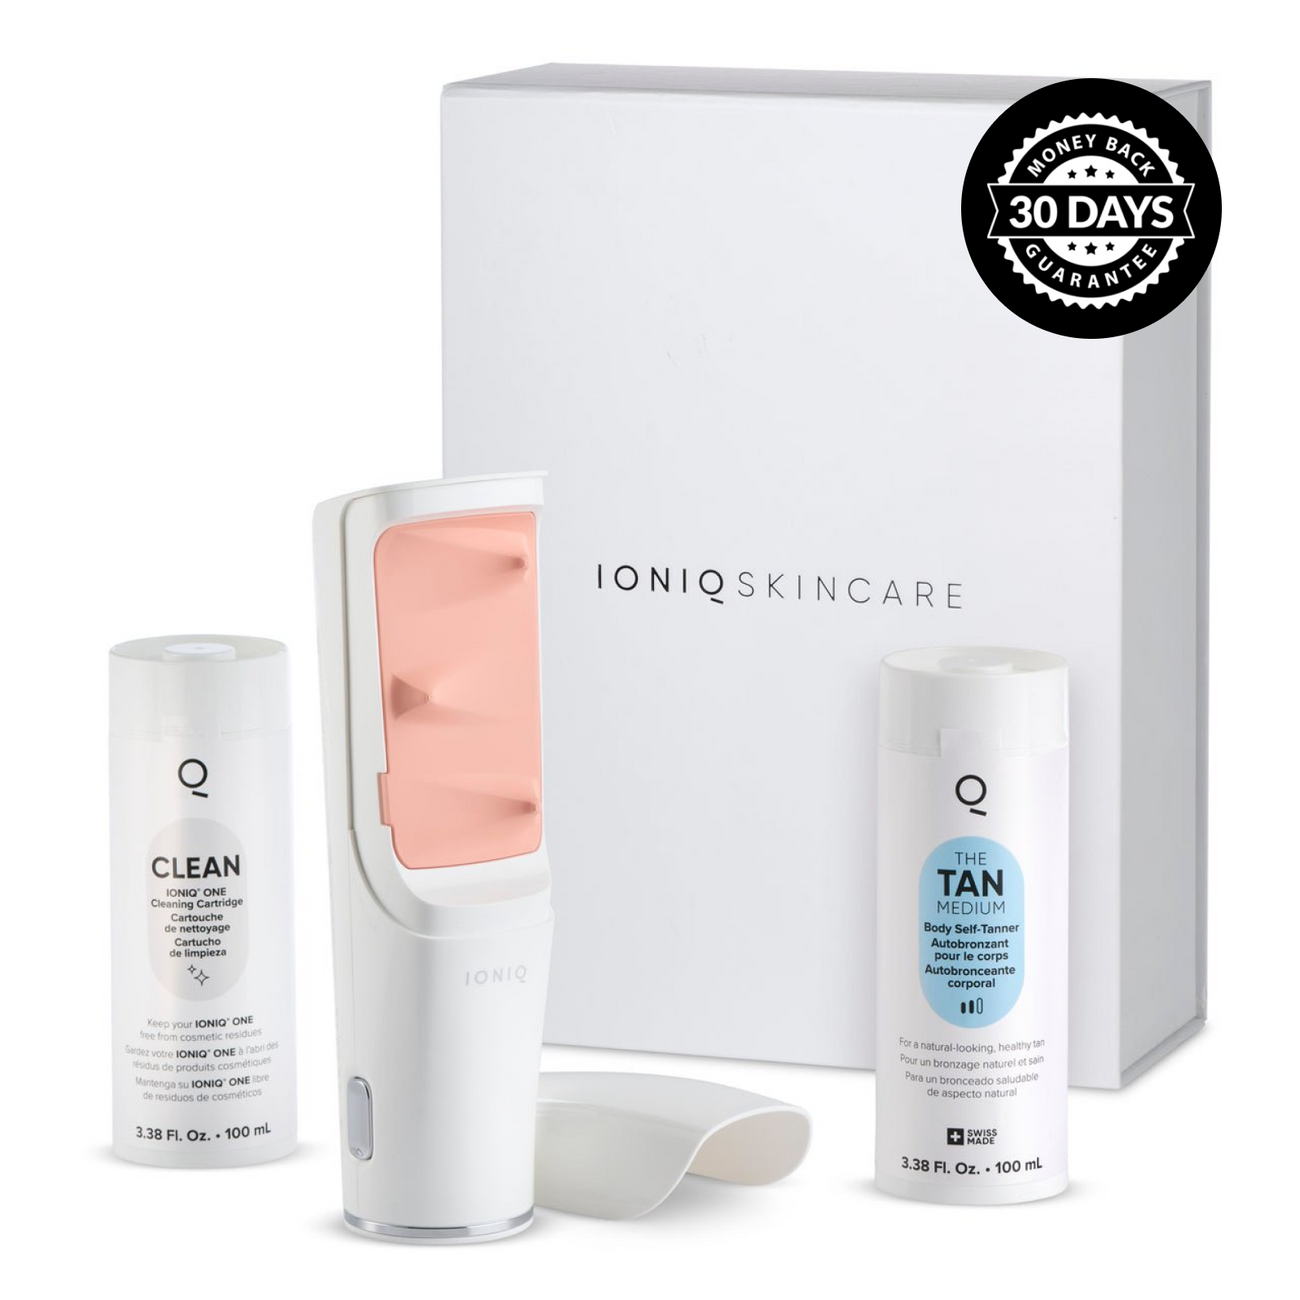
One standout innovation is the IONIQ ONE Sprayer, the best at-home spray tan — a touchless, that delivers a perfectly even tan with zero streaks, no mitt required. Its magnetic skin technology ensures flawless application, even on hard-to-reach areas, making it ideal for anyone who wants professional results at home.
From mousses to drops to mists, and now smart sprayers, the best home self-tanner is the one that fits into your routine and delivers that believable glow every single time. Ready to transform your skin from dull to dewy with the perfect self-tanner? IONIQ Skincare’s wraparound effect ensures that every drop of mist sticks to your skin like a magnet
Magnetic Skin Technology
I want to show you how really effective it is.
“Beautiful glowing tan”
Fine mist that reaches a very tricky spot like even my back.
“Very simple to spray my face”
Technology that attracts mist like a magnet.
“Smooth and even tan”
Tanning my back is the easiest it’s ever been.
“Absolutely amazing”
How to Find the Best At-Home Self-Tanner
We’re not just fans of golden skin—we’re obsessed. If you want to achieve the perfect at-home tan, you don’t need to learn the hard way (we already did that for you). Here's how to choose and use a self-tanner like a pro—from the first pump to the final fade.
-
Ease of Use: Could someone who’s never touched a self-tanner before get a smooth, streak-free tan at home?
-
Color Payoff: Did the color develop into a natural-looking bronze or veer into Oompa Loompa territory?
-
Streak Resistance: We hit the gym, danced in the heat, and even wore white—if a self-tanner can survive spin class, it’s earned its spot.
-
Longevity: The best at-home self-tanner should fade gracefully—not in random patches that leave you looking like a giraffe.
Key Factors to Consider When Choosing the Best Self-Tanner for Your At-Home Glow
Not all self-tanners are created equal. To find the best at-home self-tanner, we carefully considered what really matters:
-
Skin Type Compatibility: Whether your skin is dry, oily, acne-prone, or sensitive, we sought self-tanners that deliver a flawless tan without irritation.
-
Formula Type: From lightweight mousses to deeply hydrating lotions, refreshing sprays, and customizable tanning drops, we explored every home self-tanner format.
-
Drying Time: Some of the best self-tanners are fast-drying miracles; others give you enough time to blend. We tested both to find what really works.
-
Scent: Because the best at-home self-tanner shouldn’t smell like chemicals. We prioritized formulas with pleasant, beachy scents over that telltale fake tan odor.
This isn’t just about looking bronzed—it’s about doing it right. Use this guide as your glow game plan and say goodbye to patchy tans, orange tones, and fake tan horror stories. “Device's key ingredient (DHA) for tanning is FDA-approved” “It creates a streak-free, beautiful bronze without the help of a pro.” “Achieving an even, sun-kissed glow has never been easier” “Perfect DIY spray tan with ease and no mess.”
Jenna Igneri
Britt Fallon
![]()
![]()
![]()

How to Choose the Best At-Home Self-Tanner for YOU
Finding the best at-home self-tanner isn’t easy—it takes research, testing, and knowing your skin’s needs. The right formula for you depends on your skin type, preferred format, and how deep you want your tan to be. With so many self-tanning options out there, choosing the best at-home self-tanner can feel overwhelming—but it doesn’t have to be. Use this guide to get one step closer to your perfect home tan.
Skin Type Guide
The best at-home self-tanner should enhance your skin, not irritate it. Here's how to match your skin type to the right self-tanner formula:
-
Dry Skin: Look for hydrating formulas packed with ingredients like shea butter, aloe, and hyaluronic acid. Avoid alcohol-based products that can strip moisture. The best at-home self-tanner for dry skin should feel like a body lotion with added glow.
-
Oily Skin: Lightweight, oil-free formulas are your BFF. They dry quickly and won’t clog pores. Go for a matte finish to avoid looking shiny after your tan develops.
-
Sensitive Skin: Stick with fragrance-free, dye-free, and hypoallergenic self-tanners. The best at-home self-tanner for sensitive skin should deliver a subtle, natural tan without triggering redness or irritation.
Why the IONIQ ONE Sprayer Is Different from Other Self-Tanners
The IONIQ ONE Sprayer, the best at-home spray tan addresses all of these common issues:
-
No streaks – Magnetic skin technology ensures even coverage.
-
No drying or stickiness – The mist feels weightless and hydrating.
-
No mess – Touchless, targeted application means no mitt, no hands, and no stained surfaces.
It’s a premium choice for those who want salon-level results with maximum convenience at home. No matter your skill level, there’s a best at-home self-tanner format that fits your routine.
If you're new to tanning at home, mousse formulas are forgiving and easy to blend. Looking to boost your favorite moisturizer with a sun-kissed glow? Tanning drops are your go-to. But if you’re looking for precision, speed, and zero mess, the IONIQ ONE Sprayer is a game-changing choice—especially for hard-to-reach areas.
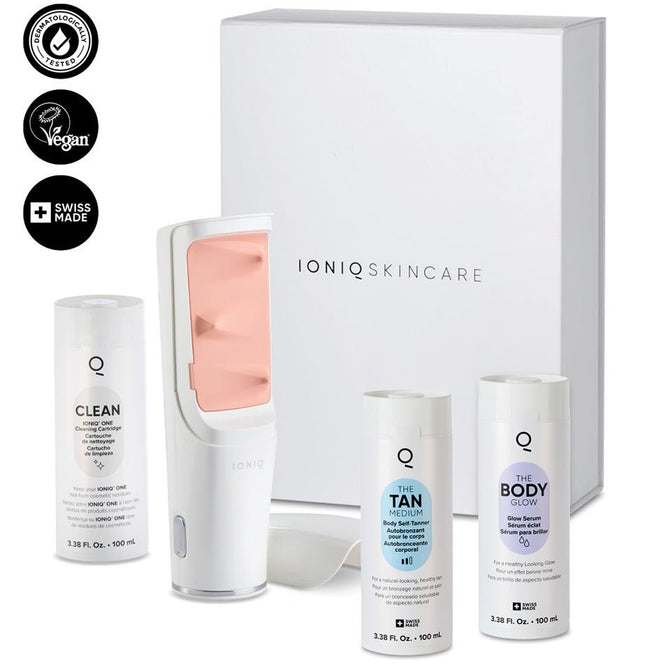
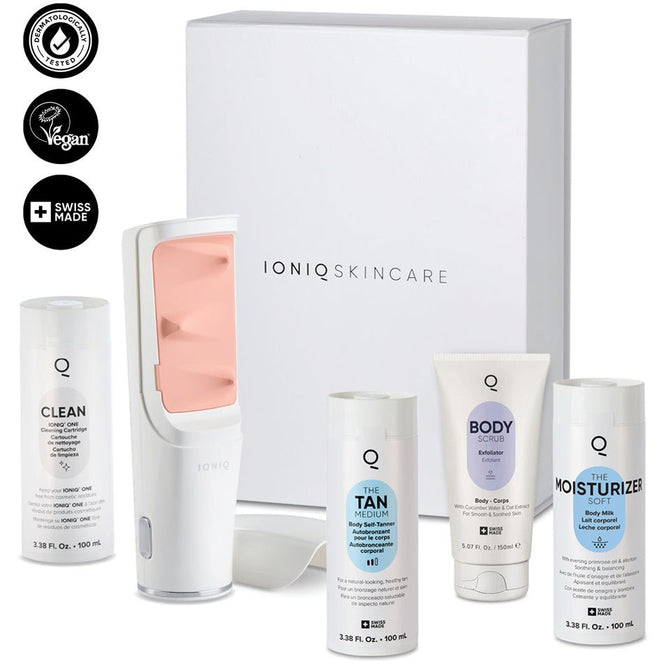
IONIQ ONE Sprayer Color Depth Options
Choosing the right color intensity is key to a believable at-home tan. The best self-tanner should enhance your natural tone—not mask it.
-
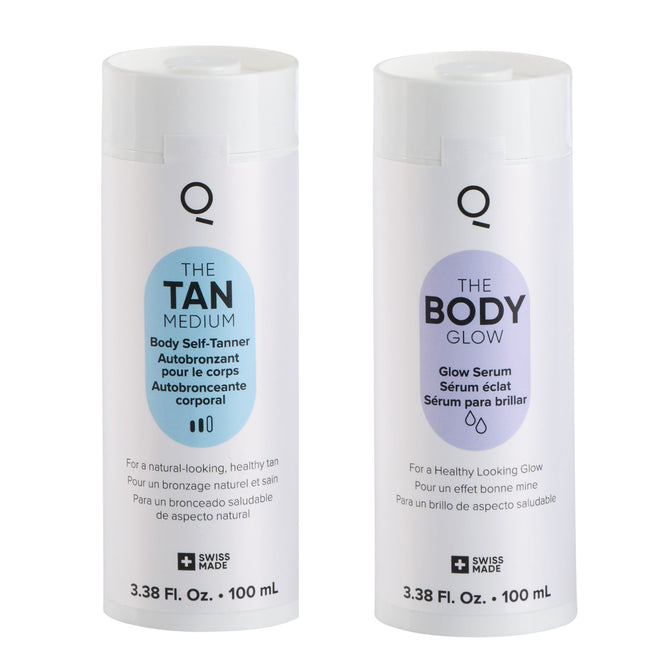
The TAN Light: Perfect for fair skin or beginners. Think subtle, golden undertones.
-
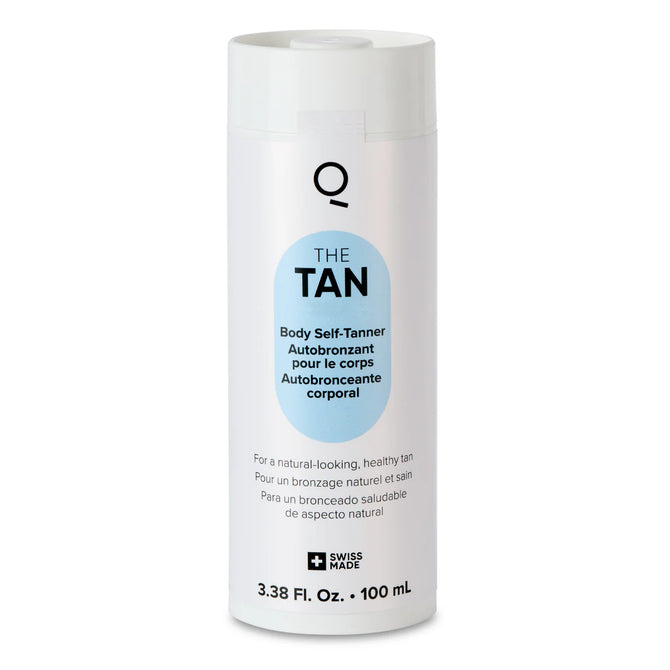
The TAN Medium: Great for those who want a warm, noticeable bronze.
-
The TAN Dark: Ideal for experienced users or deeper skin tones. Delivers that rich, cocoa-kissed glow that screams vacation—and lasts.
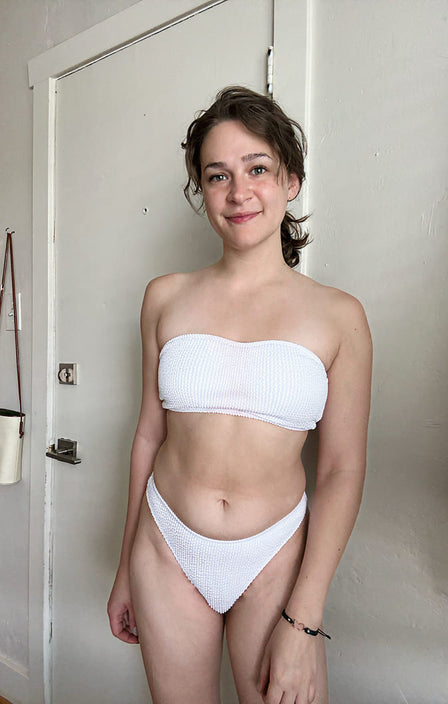
If you’re looking for a smart, mess-free way to tan at home, IONIQ ONE Sprayer is a game-changer. This award-winning device uses magnetic skin technology to deliver a flawless, streak-free tan without the need for rubbing or gloves. Unlike traditional formulas that can be uneven or hard to apply on tricky areas (like the back), IONIQ’s spray system makes full-body application effortless and touch-free. "I use self tanner in the summer and I usually hate it. Even after years of use I usually still have streaks or dark spots somewhere where I misapplied. Then I had to worry about my sheets and clothes being stained and the horrible smell. It’s incredible! So easy to use, I swear I made myself nervous reading the instructions over and over for no reason. I have never in 30+years of tanning had such an easy experience." "I’ve tried practically everything out there over the last 30 years. I had an allergic reaction to most of them so I opted for tanning beds and the good old sun. I got melanoma 2015 so that stopped all types of tanning. Until now. Wow!! Technology has improved so much! I’m amazed at how easy it is to use as well as how absolutely flawless it looks!" "Wow! I took a chance and bumped the color up a notch to dark !!!! I received so many compliments on how even and smooth my tan looks on my face!! What a high compliment to YOU and YOUR product and to me, because I follow the application instructions :) Thank you for the prompt receipt of my orders placed AND thank you for caring enough about your product, to inquire about my personal preference and addiction to IONIQ SKINCARE. Thank you for the gifted product."
Smart Tanning. Visible Results.
Wrap Around Effect technology delivers an even, streak-free tan — just check the before & after
 Before
 After
TAN Light
After
TAN Light
Worth its weight in gold!
TAN Light
Amanda B.
Verified customer
 Before
 After
TAN Medium
After
TAN Medium
Great product!!
TAN Medium
Nico
Verified customer
 Before
 After
TAN Dark
After
TAN Dark
Sincere IONIQ Tanner
TAN Dark
Denise T
Verified customer
How to Apply Regular At-Home Self-Tanner
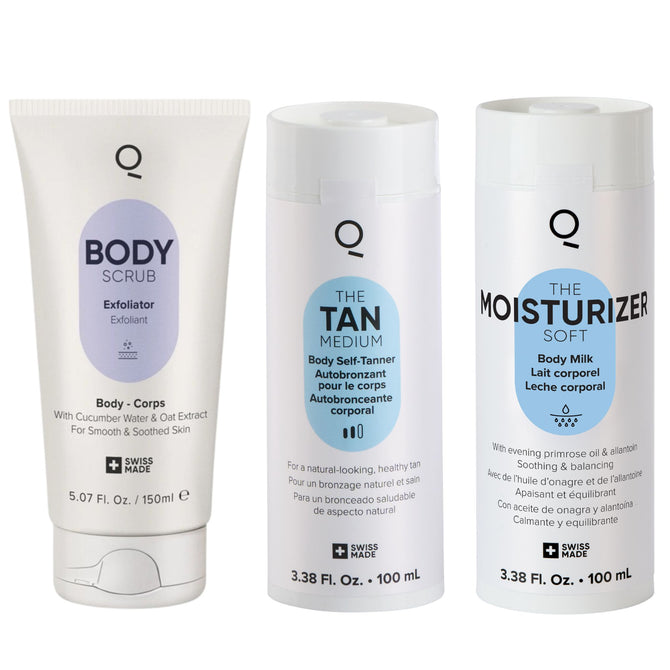
Pre-Tan Prep: Exfoliation and Moisturizing
If you're aiming for the best glow from your regular at-home self-tanner, prep is everything. Start by exfoliating your entire body about 24 hours before applying your tanner—pay special attention to rough areas like knees, elbows, and ankles, as these spots tend to soak up more product and can turn darker than the rest of your skin. A gentle scrub or dry brushing works great for sloughing off dead skin cells and creating a smooth, even surface.
Shave before exfoliating to avoid irritation or redness, and give your skin a full day to recover for a smoother self-tanner application. If you wax, do so at least 24 - 48 hours in advance to let your skin settle and prevent clogged pores.
Right before applying your at-home self-tanner, lightly moisturize dry zones—think ankles, wrists, hands, elbows, and knees. This step helps create a barrier so these areas don’t absorb too much of the self-tanner, which can lead to uneven or patchy results. Choose a lightweight, oil-free moisturizer to avoid interfering with the tanner’s absorption.
Also, make sure your skin is completely clean and free of any oils, deodorant, makeup, or perfume. These can interfere with how the tanner develops and may lead to streaks or discoloration.
Use a Mitt for Self-Tanner Application
Ready to glow? Grab a mitt if you're using a mousse or lotion self-tanner, or use gloves if you prefer spray formulas. A mitt not only protects your hands from staining, but also helps blend the tanner evenly across your body. For your face, consider using a brush, sponge, or your fingertips for more precision—just remember to wash your hands immediately after.
Begin at your ankles and work your way up in small, circular motions—this ensures a streak-free finish and helps control how much product you're applying to each section. Avoid overloading any one area with the product. Use leftover tanner on the mitt for your hands and feet last, since these areas require less product.
Don’t forget hard-to-reach spots like your back. Use a back applicator tool or ask a friend for help to avoid missed areas. If you're tanning your face, use a formula specifically designed for it, as it tends to be gentler and less pore-clogging.
Be patient and let your home self-tanner dry completely before getting dressed. Even if it’s late—or early—resist the urge to rush. Drying time is crucial for a streak-free, long-lasting tan. For best results, avoid water, sweat, or tight clothes for at least 6–8 hours after application.
With IONIQ, You Can Skip All This
The IONIQ ONE Sprayer takes the guesswork, tools, and effort out of self tanning. There’s no need for mitts, gloves, brushes, or complicated techniques. Its smart spray technology applies the formula evenly, touch-free, and effortlessly—even in hard-to-reach areas like your back. Just turn it on, spray, and go. No mess. No stained hands. No awkward bending. Just a flawless, streak-free tan in minutes.
Post-At-Home Self-Tanner Care
After your tanner has fully developed, rinse it off with lukewarm—not hot—water, and avoid scrubbing. Pat your skin dry gently with a towel. Moisturize daily to extend the life of your tan and maintain an even fade. Look for hydrating lotions with ingredients like hyaluronic acid, aloe vera, or shea butter.
To keep your glow fresh, avoid long soaks in hot baths, swimming in chlorinated pools, and using harsh exfoliants. A gradual tan extender or a light layer of self-tanner every few days can help you maintain that sun-kissed look without a full reapplication.
With IONIQ, You Don’t Need to Do This
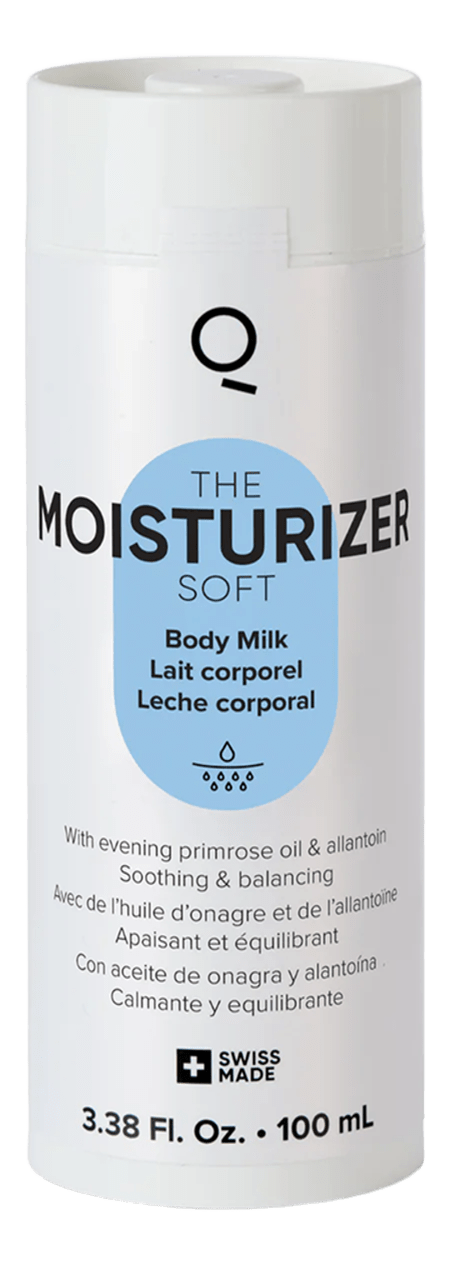
The IONIQ ONE Sprayer simplifies not just the application, but also the aftercare. Thanks to its ultra-hydrating formula, you won’t need to baby your tan with extra steps. IONIQ's at-home self-tanner contains hyaluronic acid for deep hydration, aloe vera to calm and soothe the skin, and panthenol (pro-vitamin B5) to help strengthen the skin barrier and prevent flakiness. These ingredients work together to ensure your tan fades evenly and naturally—no patchiness, no dryness, and no need for extra moisturizers or tan extenders.
So while traditional tans require daily upkeep, IONIQ gives you a glow that’s built to last—with less effort and more skin-loving care.
Common Pitfalls with Regular Self-Tanners
Using an at-home self-tanner can give you a radiant, sun-kissed glow—without the sun damage—but only if you avoid these all-too-common pitfalls. Even the best at-home self-tanning lotion or mousse won't deliver flawless results if you're skipping key steps.
-
Skipping exfoliation → Patchy fade
One of the biggest mistakes when using regular at-home self-tanner is forgetting to exfoliate beforehand. Without removing dead skin cells, the tanner clings to dry, uneven patches, resulting in a blotchy tan that fades poorly. The fix? Use a gentle sugar scrub and warm water the night before applying your self-tanner. This creates a smooth, even surface for the best application possible. -
Using too much product → Orange palms
Applying too much tanner—especially with your bare hands—can leave you with telltale orange palms that scream “I used a self-tanner!” Instead, always use a tanning mitt when working with regular at-home tanner. If you're applying a spray or lotion without a mitt, wash your hands immediately afterward to prevent buildup. The best self-tanner results come from even application, not heavy layering. -
Ignoring dry zones → Dark spots
Elbows, knees, ankles, and wrists tend to absorb more product than the rest of your body. If you skip moisturizing these areas beforehand, your regular at-home self-tanner can develop darker in these spots, making the tan look uneven. Apply a light layer of lotion to these problem areas before using your tanner to ensure a seamless blend. -
Not letting it dry → Streaks and smudges
Patience is key when using regular at-home self-tanner at home. Putting on clothes too soon after applying your tanner can cause streaks, smudges, or transfer onto fabric. For the best results, allow your home self-tanner to dry thoroughly before getting dressed, and avoid sweating or showering for at least 6 - 8 hours. -
Choosing the wrong formula → Unnatural tone
Not all self-tanners are created equal. The best at-home self-tanner for you depends on your skin tone, type, and desired finish. Using a product that's too dark or too warm for your complexion can lead to an unnatural, orange look. Take time to research and test different tanners to find the one that works best for your skin.
FAQs About the Best At-Home Self-Tanner
Q: How long does at-home self-tanner last?
A: A regular at-home self-tanner typically lasts anywhere from 5 to 7 days, depending on your skin type, lifestyle, and aftercare routine. To get the best results, moisturize daily to lock in hydration and maintain that freshly-glowed look. Keep in mind that sweating excessively or frequent showers can speed up the fading process, even with the best self-tanner on the market. To extend the life of your tan, gently pat your skin dry after showering and avoid harsh exfoliants until you’re ready to reapply your tanner.
Q: Can I use self-tanner on my face?
A: Absolutely! Many self-tanner brands now offer face-specific formulas designed to deliver a subtle glow without clogging pores or causing irritation. The best at-home self-tanner for your face is one that’s non-comedogenic, lightweight, and easy to blend. Using a body tanner on your face isn’t ideal, as the ingredients may be too heavy or cause breakouts. Opt for a gradual at-home self-tanner or serum tailored for facial use to keep your glow even and natural-looking.
Q: How do I choose the best at-home self-tanner for my skin tone?
A: Choosing the best formula depends on your skin’s undertone and the type of finish you’re after. For fair skin, look for a light-to-medium tanner with neutral or olive undertones to avoid an orange result. If you have a deeper complexion, medium-to-dark formulas will enhance your natural tone beautifully. No matter your skin tone, always patch test your at-home self-tanner first and build up the color gradually for the most natural effect.
Q: Will at-home self-tanner protect me from the sun?
A: No, your self-tanner does not contain SPF or provide any real protection from UV rays. Even with the best home self-tanner, you’ll still need sunscreen to shield your skin from sunburn and long-term damage. Think of your tanner as your glow-up product—not your sunblock!
Q: How often should I reapply my at-home self-tanner?
A: To keep your tan looking fresh, reapply your home self-tanner every 5 - 7 days. Before each new application, make sure to exfoliate gently to remove old product buildup. With the best self-tanner and a consistent routine, you’ll maintain a streak-free, bronzed look week after week.
Why IONIQ ONE Sprayer + TAN Beats the Rest
If you’re aiming for a flawless glow without stepping into a salon—or worse, a tanning bed—the IONIQ ONE Sprayer + TAN is your new go-to. This isn’t just another regular self-tanner. It’s a breakthrough self tanning device powered by Magnetic Skin Technology, designed to deliver full, even coverage with its unique wrap-around mist. That means no rubbing, no missed patches, and definitely no streaks.
Whether you’re a first-time tanner or a self-bronzing pro, the IONIQ ONE adapts to the curves and contours of your body with precision, ensuring a natural-looking tan that develops in 6 - 8 hours and lasts up to 7 days. And the best part? No blending mitts. No stained palms. No guesswork.
Designed for Real Life
The IONIQ ONE Sprayer isn’t just about performance—it’s built for convenience. Whether you’re getting ready for an event, traveling for work, or squeezing in a glow before vacation, this lightweight, TSA-approved device is ready to go wherever you are.
-
No sticky residue or lingering odors
-
Mess-free and colorless formula (no stains on clothes or sheets)
-
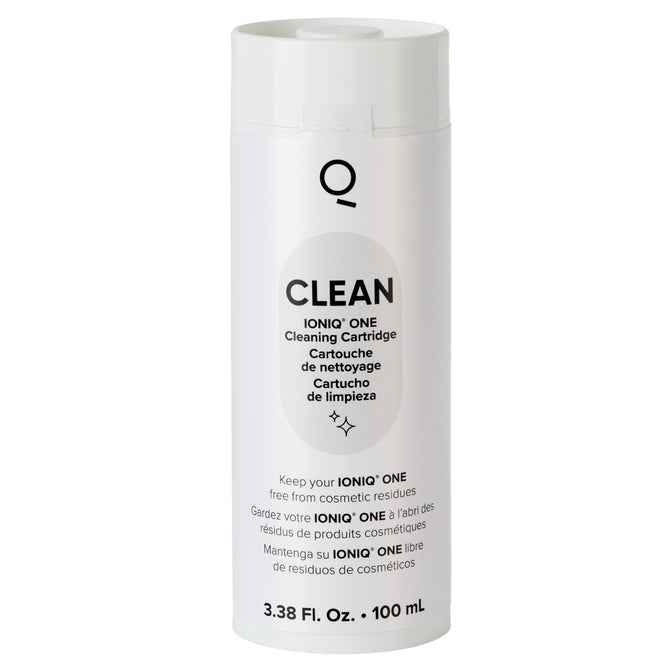
Self-cleaning system and up to 3 full-body tans per cartridge
It’s tanning, modernized—and mobile.
Unlike the long-term cost of professional spray tans and tanning memberships, this smart device pays for itself in both time and results, offering salon-level tanning without salon-level commitment. From holiday parties to family gatherings, achieve a flawless tan that lasts all season.
Shop Now
The IONIQ ONE Sprayer
+ TAN Bundle
$299.00
/
Free US shipping
Final Thoughts
Choosing the best at-home self-tanner comes down to your lifestyle, and how much effort you want to put in. Whether you’re completely new to the world of self-tanning or have your technique down to an art, today’s innovations make it easier than ever to get a flawless, natural-looking tan without leaving the house. The best at-home self-tanner formulas are designed to deliver better color payoff, smoother fades, and skin-loving ingredients that actually nourish while they bronze.
Thanks to advanced tools like the IONIQ ONE Sprayer your at-home self-tanner routine can be quick, clean, and confidently streak-free. No more sticky mitts, orange palms, or waiting hours to dry. With smart technology and salon-quality results, the IONIQ ONE is redefining what it means to use a self-tanner at home—and proving that you don’t need a professional appointment to look professionally bronzed.
Get IONIQ ONE Sprayer + TAN —achieve your dream glow at home with the best self-tanner experience yet!