


If you’ve ever walked out of a salon with streaky legs, orange elbows, or a tan that fades in two days, the problem likely wasn’t the formula—it was the prep. Learning how to prepare for a spray tan can make the difference between a glowing, even finish and a patchy disaster.
Whether you’re getting ready for a big event, heading on vacation, or just want to look and feel a little more radiant, spray tanning is one of the most popular ways to get a sun-kissed look without UV exposure. But to get good results, how you prep for a spray tan matters more than most people realize.
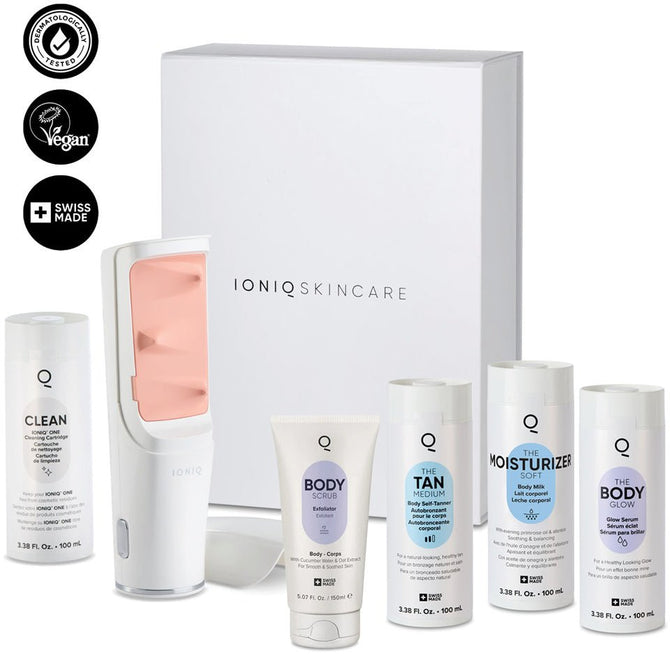
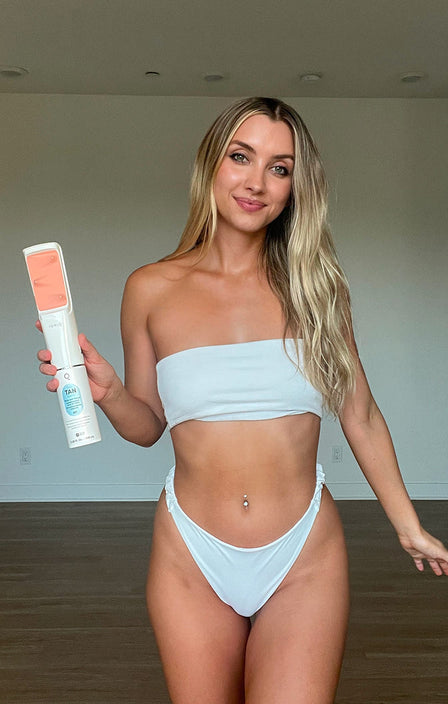
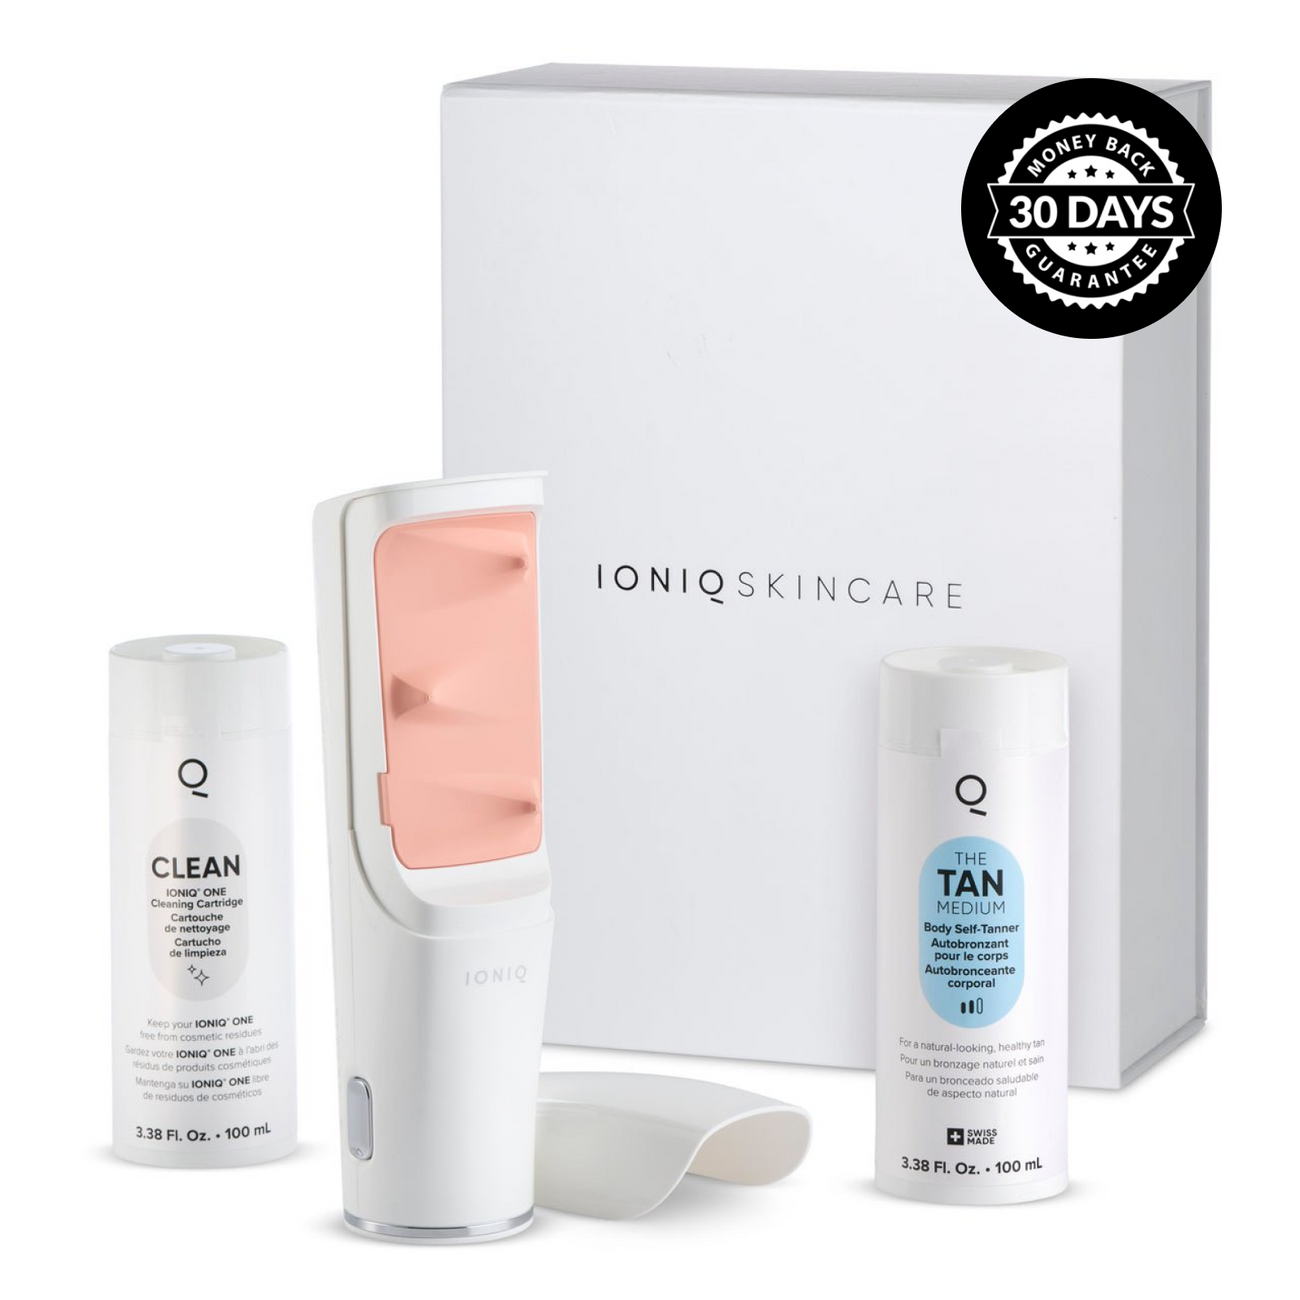
And if you’re looking for a way to get that salon-quality bronze without leaving your house—or worrying about smudges, streaks, or mystery residue—the IONIQ ONE Sprayer + TAN offers a smarter solution. This cordless, self-cleaning device takes the guesswork out of self-tanning with its wraparound mist, skin-safe formula, and app-connected control.
Before you tan, you need a plan. This guide walks you through exactly how to prep for a spray tan, so you get longer-lasting, streak-free results—every single time. IONIQ Skincare’s wraparound effect ensures that every drop of mist sticks to your skin like a magnet
Magnetic Skin Technology
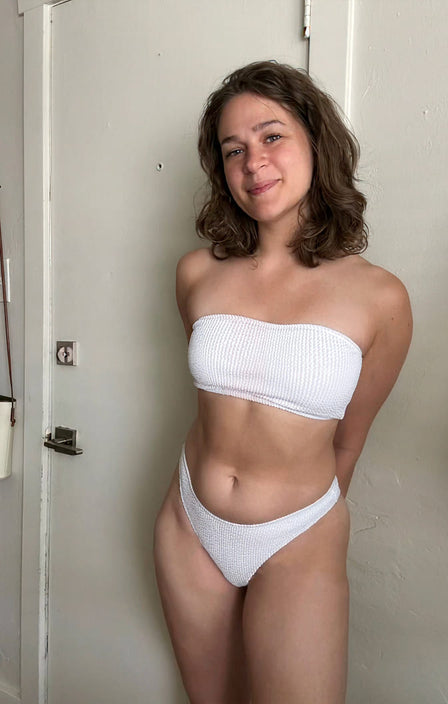
I want to show you how really effective it is.
“Beautiful glowing tan”
Fine mist that reaches a very tricky spot like even my back.
“Very simple to spray my face”
Technology that attracts mist like a magnet.
“Smooth and even tan”
Tanning my back is the easiest it’s ever been.
“Absolutely amazing”
Why Preparing for a Spray Tan Matters
What Happens If You Don’t Prepare for a Spray Tan?
Skipping the prep work before a spray tan might save time in the moment, but it comes at a cost—uneven results, rapid fading, and color that clings to dry patches or flakes off within days. It can be the spray tan or the technician, but most tanning fails actually come down to poor preparation.
Here’s what can go wrong when you don’t prepare for a spray tan properly:
-
Blotchy patches where dead skin cells haven’t been exfoliated
-
Streaks caused by leftover moisturizer or body oil
-
Discoloration around ankles, knees, and elbows due to dry skin
-
Faster fading when the skin isn’t clean, smooth, or balanced
-
Rough texture if shaving or waxing was done too close to the tan
Spray tanning is more than just showing up and standing still—it’s a process that starts before the first spritz hits your skin.
Why Skin Condition Affects Spray Tan Results
Spray tanning products rely on DHA (dihydroxyacetone), a colorless sugar that reacts with amino acids on the skin’s surface to create a temporary pigment. This reaction only happens on the top layer of your skin, which is why it’s essential to remove anything that could block or interfere with that reaction—like dry flakes, oils, or residue from deodorant or lotion.
If you’ve ever wondered why your spray tan fades unevenly, it’s often because of inconsistent skin prep across different parts of the body. Areas like elbows and ankles tend to absorb more product because they’re rougher. Without exfoliation or light moisturizing beforehand, the result can look unnatural.
Why Salon Tans Aren’t Foolproof
Even if you go to a professional salon, how you prep for your spray tan still determines how it turns out. Technicians can control the spray tan, but they can’t control what’s already on your skin.
Plus, the prep-and-wait process at a salon can feel restrictive: no makeup, no deodorant, no showering afterward, and hours of awkward downtime while your tan develops. The risk of smudging it in the car ride home—or worse, staining clothes or sheets—adds another layer of stress.
A Better Way to Tan: IONIQ ONE Sprayer + TAN
This is where at-home innovation changes the game. The IONIQ ONE Sprayer + TAN, an at-home spray tan system helps eliminate the prep and simplifies the application process:
-
Its Magnetic Skin Technology ensures that the product evenly reaches every curve—no missed spots, even on hard-to-reach areas like your back.
-
The wraparound mist works seamlessly with exfoliated skin, applying tanner evenly without rubbing it in or guessing where you’ve sprayed.
-
Since the formula is colorless, mess-free, and fast-drying, you can wear loose clothes without worrying about stains or streaks.
-
The cordless sprayer and Bluetooth-enabled app let you tan on your schedule—not the salon’s.
Why Timing Matters More Than You Think
The skin needs time to bounce back after shaving, waxing, or exfoliating. Doing these things too close to your spray tan can lead to irritation, uneven color, or darkened pores. On the flip side, prepping too far in advance means you risk building up new oils or skin cells before the application.
This is where traditional salon tanning falls short. You’re often on their schedule—not yours. With the IONIQ ONE Sprayer + TAN, you tan on your terms. No rush, no appointment stress. And because the sprayer is cordless and portable, you don’t have to block out your day to build a golden glow.
Pro Tip: Adjust Based on Your Skin
If you have particularly dry, sensitive, or acne-prone skin, start prepping 2–3 days in advance to give yourself a little extra buffer. The smoother and calmer your skin is when you apply your tanner, the better the results. “Device's key ingredient (DHA) for tanning is FDA-approved” “It creates a streak-free, beautiful bronze without the help of a pro.” “Achieving an even, sun-kissed glow has never been easier” “Perfect DIY spray tan with ease and no mess.”
Jenna Igneri
Britt Fallon
![]()
![]()
![]()

How to Prep for a Spray Tan: 24–48 Hours Before
Once you've nailed your timing, it's time to get into the actual steps of how to prepare for a spray tan. This phase is all about creating the perfect canvas. What you do in the 24–48 hours leading up to tanning will directly affect how even and long-lasting your glow is.
Here’s how to prep for a spray tan the right way.
1. Exfoliate Your Entire Body
One of the most important things you can do when preparing for a spray tan is exfoliate. Sloughing off dead skin cells helps the tanning solution bind evenly to fresh skin—and prevents blotchiness as the tan wears off.
Use a non-oil-based scrub or dry brush to focus on:
-
Elbows
-
Knees
-
Ankles
-
Heels
-
Back of arms
-
Any flaky or rough areas
Avoid using scrubs that contain oils or heavy moisturizers. These can create a barrier between your skin and the tanning agent, leading to uneven absorption.
Why it matters: Traditional spray tan booths often struggle to reach uneven surfaces, so if you haven’t prepped properly, you’ll see streaks and missed spots. The IONIQ ONE Sprayer + TAN, on the other hand, uses Magnetic Skin Technology to evenly coat the skin—even on hard-to-reach places—ensuring your exfoliation efforts pay off.
2. Shave or Wax (But Not Too Late)
Hair removal should happen at least 24 hours before tanning. This gives your skin time to heal and your pores time to close.
-
Shaving too close to tanning can cause the tanner to settle into open pores, creating dark dots.
-
Waxing too close to tanning can irritate your skin and make the tan look uneven or even painful.
No matter the method, avoid heavy shaving creams and instead rinse with cool water after hair removal.
3. Begin Moisturizing Dry Areas Only
If your skin is prone to dryness, start lightly moisturizing areas that tend to over-absorb tanner—like elbows, knees, hands, and feet. Don’t overdo it. The goal is to balance texture, not create a greasy barrier.
Avoid:
-
Heavy oils
-
Body butters
-
Lotions with SPF or silicone
Stick to a fragrance-free, fast-absorbing formula, and stop moisturizing completely about 12 hours before you tan.
4. Stop Using Deodorants and Perfume
In the last 24 hours, avoid products that can react with DHA or block your tan’s development. This includes:
-
Antiperspirants
-
Deodorants
-
Fragrances
-
Skin treatments with active acids (AHA, BHA, retinol)
These can cause patchiness or even a greenish tint in some formulas. With IONIQ’s skin-friendly, aloe-infused mist, you can avoid those common reaction risks altogether—especially if your skin is sensitive.
Day-Of Spray Tan Prep Checklist
How you prepare for a spray tan on the day of your session is just as important as what you do in the days before. The right prep ensures your tan develops smoothly and evenly.
Key Steps to Prep for a Spray Tan on the Same Day
Take these steps before applying your spray tan:
-
Rinse with water only — Avoid soap, body wash, or conditioner. A quick shower helps remove oils, sweat, or skincare residue that may block the tanning formula.
-
Do not apply products — Skip lotions, deodorants, makeup, or perfumes. These can create uneven absorption or even cause discoloration.
-
Wear loose, dark clothing — Tight clothes or light-colored fabrics can smudge the tan or absorb product. Opt for cotton or jersey materials.
-
Remove accessories — Take off all jewelry, including earrings, necklaces, watches, and rings, to avoid lines or blocked areas.
-
Tie up your hair — Use a clip or headband to keep hair off your face, neck, and shoulders.
With salon spray tans, the prep day often comes with stress—timing your shower, traveling in baggy clothes, hoping the tan doesn’t transfer. The IONIQ ONE Sprayer + TAN removes that guesswork. Its wraparound mist technology and mess-free formula allow you to tan quickly and cleanly, all from home, with no risk of stains on clothing or sheets.
What to Wear to a Spray Tan Appointment
If you’re wondering what to wear to a spray tan session, the answer is simple: comfort over style. The right clothing helps your tan set properly without rubbing, smearing, or soaking up product.
Best Clothing to Wear Before and After a Spray Tan
-
A loose, dark t-shirt or tank top
-
Baggy joggers or lounge pants
-
Open-toed shoes like flip-flops or slides
-
A long, flowy dress (for minimal skin contact)
-
A dark robe if tanning at home
Avoid wearing bras or tight undergarments, especially immediately after application. Let your skin breathe while the tan develops.
What Not to Wear
-
Tight jeans, leggings, or elastic waistbands
-
Bras with underwire
-
Light-colored fabrics that may stain
-
Sneakers, socks, or anything snug on your feet
Can You Shave Before a Spray Tan?
Yes, you can shave before a spray tan—but timing and technique matter.
When to Shave to Prepare for a Spray Tan
-
Shave at least 24 hours before tanning
-
Use a clean, sharp razor to avoid irritation
-
Rinse with cool water after shaving to close pores
-
Avoid shaving creams with oils or heavy moisturizers
Shaving too close to your appointment can lead to tiny dark dots as the tanning solution settles into open pores. It can also cause the formula to apply unevenly on freshly irritated skin.
Most salon spray equipment can’t control how the product hits sensitive areas like freshly shaved legs. But the IONIQ ONE Sprayer + TAN uses Magnetic Skin Technology to direct product only to the skin, not into pores. The result: a smooth finish without that dotted appearance or razor burn risks.
Should You Exfoliate Before a Spray Tan?
Absolutely. Exfoliation is one of the most important steps in preparing for a spray tan. It removes dead skin cells, smooths rough areas, and creates an even surface for the formula to adhere to.
How to Exfoliate Before a Spray Tan
-
Exfoliate 24 hours before tanning
-
Use a scrub, exfoliating mitt, or dry brush
-
Focus on areas like knees, elbows, ankles, and heels
-
Avoid oil-based scrubs, which can leave residue
-
Don’t exfoliate again on the day of your tan
Over-exfoliating or doing it too close to your tan can leave your skin sensitive or make the product cling to irritated spots. "I use self tanner in the summer and I usually hate it. Even after years of use I usually still have streaks or dark spots somewhere where I misapplied. Then I had to worry about my sheets and clothes being stained and the horrible smell. It’s incredible! So easy to use, I swear I made myself nervous reading the instructions over and over for no reason. I have never in 30+years of tanning had such an easy experience." "I’ve tried practically everything out there over the last 30 years. I had an allergic reaction to most of them so I opted for tanning beds and the good old sun. I got melanoma 2015 so that stopped all types of tanning. Until now. Wow!! Technology has improved so much! I’m amazed at how easy it is to use as well as how absolutely flawless it looks!" "Wow! I took a chance and bumped the color up a notch to dark !!!! I received so many compliments on how even and smooth my tan looks on my face!! What a high compliment to YOU and YOUR product and to me, because I follow the application instructions :) Thank you for the prompt receipt of my orders placed AND thank you for caring enough about your product, to inquire about my personal preference and addiction to IONIQ SKINCARE. Thank you for the gifted product."
Smart Tanning. Visible Results.
Wrap Around Effect technology delivers an even, streak-free tan — just check the before & after
 Before
 After
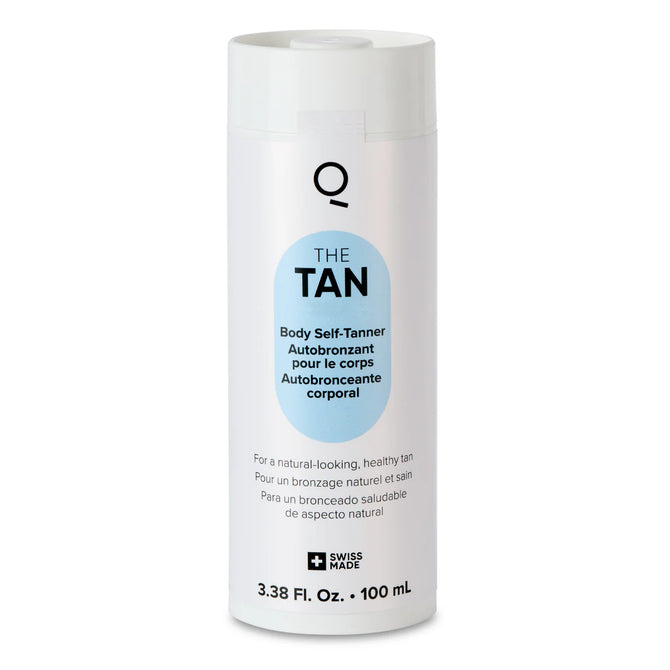
TAN Light
After
TAN Light
Worth its weight in gold!
TAN Light
Amanda B.
Verified customer
 Before
 After
TAN Medium
After
TAN Medium
Great product!!
TAN Medium
Nico
Verified customer
 Before
 After
TAN Dark
After
TAN Dark
Sincere IONIQ Tanner
TAN Dark
Denise T
Verified customer
Spray Tan Preparation Mistakes to Avoid
Knowing how to prepare for a spray tan is one thing—but avoiding common mistakes is just as important. Skipping these steps can lead to streaks, uneven color, or faster fading.
Top Mistakes to Avoid
-
Shaving or waxing right before tanning
Removing hair immediately before a spray tan can leave your pores open, which may result in dark dots or irritation. Always shave or wax at least 24 hours before. -
Using oil-based products
Moisturizers, body oils, and even deodorants can create a barrier that blocks the tanning solution. Opt for oil-free and fragrance-free products in the 24 hours leading up to your session. -
Skipping exfoliation
Dead skin cells cause uneven absorption. Use a gentle scrub or exfoliating mitt to prep for a smooth, even base. -
Wearing tight clothing to your session
Tight clothes can rub off fresh tan. Go for loose, dark clothing after application to avoid smudging. -
Getting wet too soon after tanning
Whether it’s rain, sweat, or a quick rinse—water is the enemy until your tan sets. Wait at least 6–8 hours before showering.
A Better Way to Tan Without the Risks
With the IONIQ ONE Sprayer + TAN, many of these risks are minimized. Thanks to its wrap-around mist and hands-free precision, you won’t need to worry about streaks from shaving or oil residue. Plus, there's no need to rush to a salon in bad weather—tan when it’s convenient for you, rain or shine.
What to Eat and Drink Before a Spray Tan
You might not think your diet matters when figuring out how to prepare for a spray tan—but it does. What you eat and drink can affect your skin’s hydration and how well the tan develops.
Best Foods and Fluids for Tanning Prep
-
Hydrate like it’s your job
Water-rich foods (cucumber, watermelon, oranges) and plain water help plump the skin, making the tan last longer and fade more evenly. -
Avoid salty, processed foods
Sodium causes water retention and bloating, which may affect the tan’s look, especially around the joints. -
Skip alcohol and caffeine pre-tan
These are dehydrating, which can dry out the skin and lead to uneven absorption. -
Load up on antioxidants
Foods rich in vitamins A, C, and E (berries, leafy greens, sweet potatoes) help your skin glow and maintain its tan longer.
Prepping your body is easier when you’re not on a clock. With the IONIQ ONE, you can hydrate, exfoliate, and tan when your skin is in its best condition.
How to Prepare Sensitive Skin for a Spray Tan
Sensitive skin requires a little extra attention before any spray tan session. The wrong prep routine can lead to irritation, blotchy spots, or even allergic reactions.
Steps to Prep Sensitive Skin
-
Do a patch test
Always test your tanner 24–48 hours beforehand to ensure no allergic reactions. -
Use fragrance-free, hypoallergenic skincare
Avoid anything with alcohol, parabens, or sulfates before your tan. -
Moisturize dry patches
Apply a light, non-greasy lotion to problem areas like elbows, knees, and ankles about 2 hours before tanning to prevent buildup. -
Avoid harsh exfoliants
Stick to gentle, chemical-free exfoliators that won’t strip or irritate the skin barrier.
The IONIQ ONE Advantage for Sensitive Skin
IONIQ’s aloe-infused, fragrance-free, vegan formula is designed with sensitive skin in mind. No silicones, parabens, or sulfates—and because there’s no rubbing involved, your skin stays calm and irritation-free. The even mist technology means fewer touchpoints and less chance of reaction. From holiday parties to family gatherings, achieve a flawless tan that lasts all season.
Shop Now
The IONIQ ONE Sprayer
+ TAN Bundle
$299.00
/
Free US shipping
Post-Tan Tips: What to Do After Your Spray Tan
Knowing how to prepare for a spray tan is only half the story—what you do afterward is just as important if you want your glow to last.
What Should You Do Right After a Spray Tan?
Once your spray tan is done, the goal is to let the formula develop without interference. Here's how to protect your tan in those crucial first hours:
-
Avoid water and sweat for at least 6–8 hours. That means no showering, sweating, or getting caught in the rain.
-
Wear loose, dark clothing. Tight fabrics can rub off the tanner or create creases.
-
Don't apply lotions or perfumes. Let the product fully absorb and set into the skin.
Most traditional spray tans require this level of caution. If you're using an at-home method like the IONIQ ONE Sprayer, the best at-home spray tan machine, you’ll still want to follow these basic steps—but you’ll enjoy a cleaner, easier experience thanks to its mess-free, colorless formula that doesn’t stain clothes or bedding.
How Long Should You Wait to Shower After a Spray Tan?
It depends on the formula, but most pros recommend waiting at least 8 hours before your first rinse—longer for deeper color. When showering:
-
Skip hot water—opt for lukewarm instead.
-
Use a gentle, sulfate-free body wash.
-
Don’t scrub or exfoliate—just rinse and pat dry.
This is especially important with salon tans that can streak if disturbed early. With the IONIQ ONE, the streak-free, wrap-around mist ensures even coverage from the start, so your glow develops more reliably.
How Do You Make a Spray Tan Last Longer?
To extend your color, you’ll need to moisturize daily and avoid anything that can accelerate fading, like chlorine or harsh exfoliants. Here are the key tips:
-
Hydrate skin morning and night.
-
Use alcohol-free and oil-free products.
-
Avoid long, hot showers and baths.
-
Pat skin dry after bathing—instead of rubbing.
Most tans fade in 5–7 days. But with IONIQ, your results can stretch up to 9 days.
Final Thoughts: Prep Right for a Longer-Lasting Glow
Whether you're heading to a salon or learning how to prepare for a spray tan at home, your prep and aftercare routine matter more than you think. From exfoliating in advance to moisturizing afterward, every step affects how your tan looks and how long it lasts.
But let’s be real—traditional spray tans come with a lot of friction: appointments, prep, unpredictable results, stained clothes, and high costs over time. If you’re looking for a smarter, more flexible way to tan, the IONIQ ONE Sprayer + TAN offers a modern upgrade.
Want a tan that works on your schedule, not the salon’s? Tan better. Glow longer—with IONIQ ONE.