


Tanning at home has become one of the most popular ways to achieve a sun-kissed glow—without the health risks, time commitment, or high costs of salons. If you're wondering how to self tan at home and make it look professional, you're in the right place. With new technologies changing the game, at-home tanning has never been more precise, safe, or convenient.
Why Self-Tanning at Home Is More Popular Than Ever
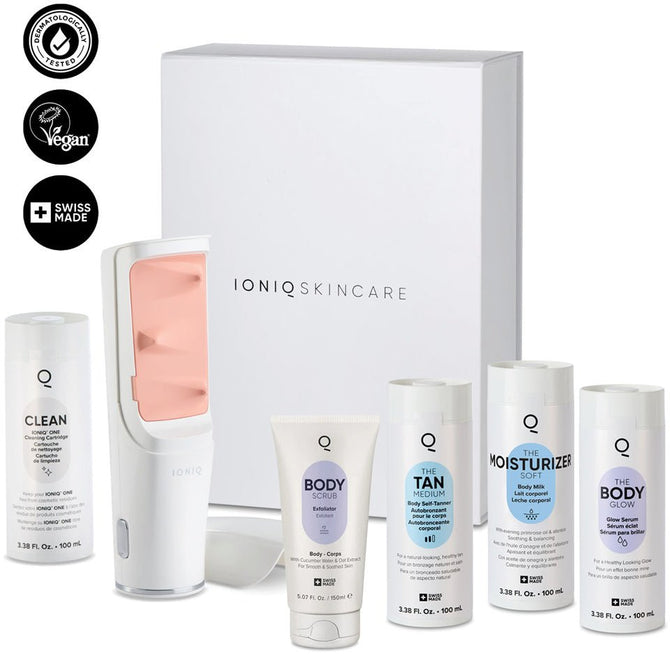
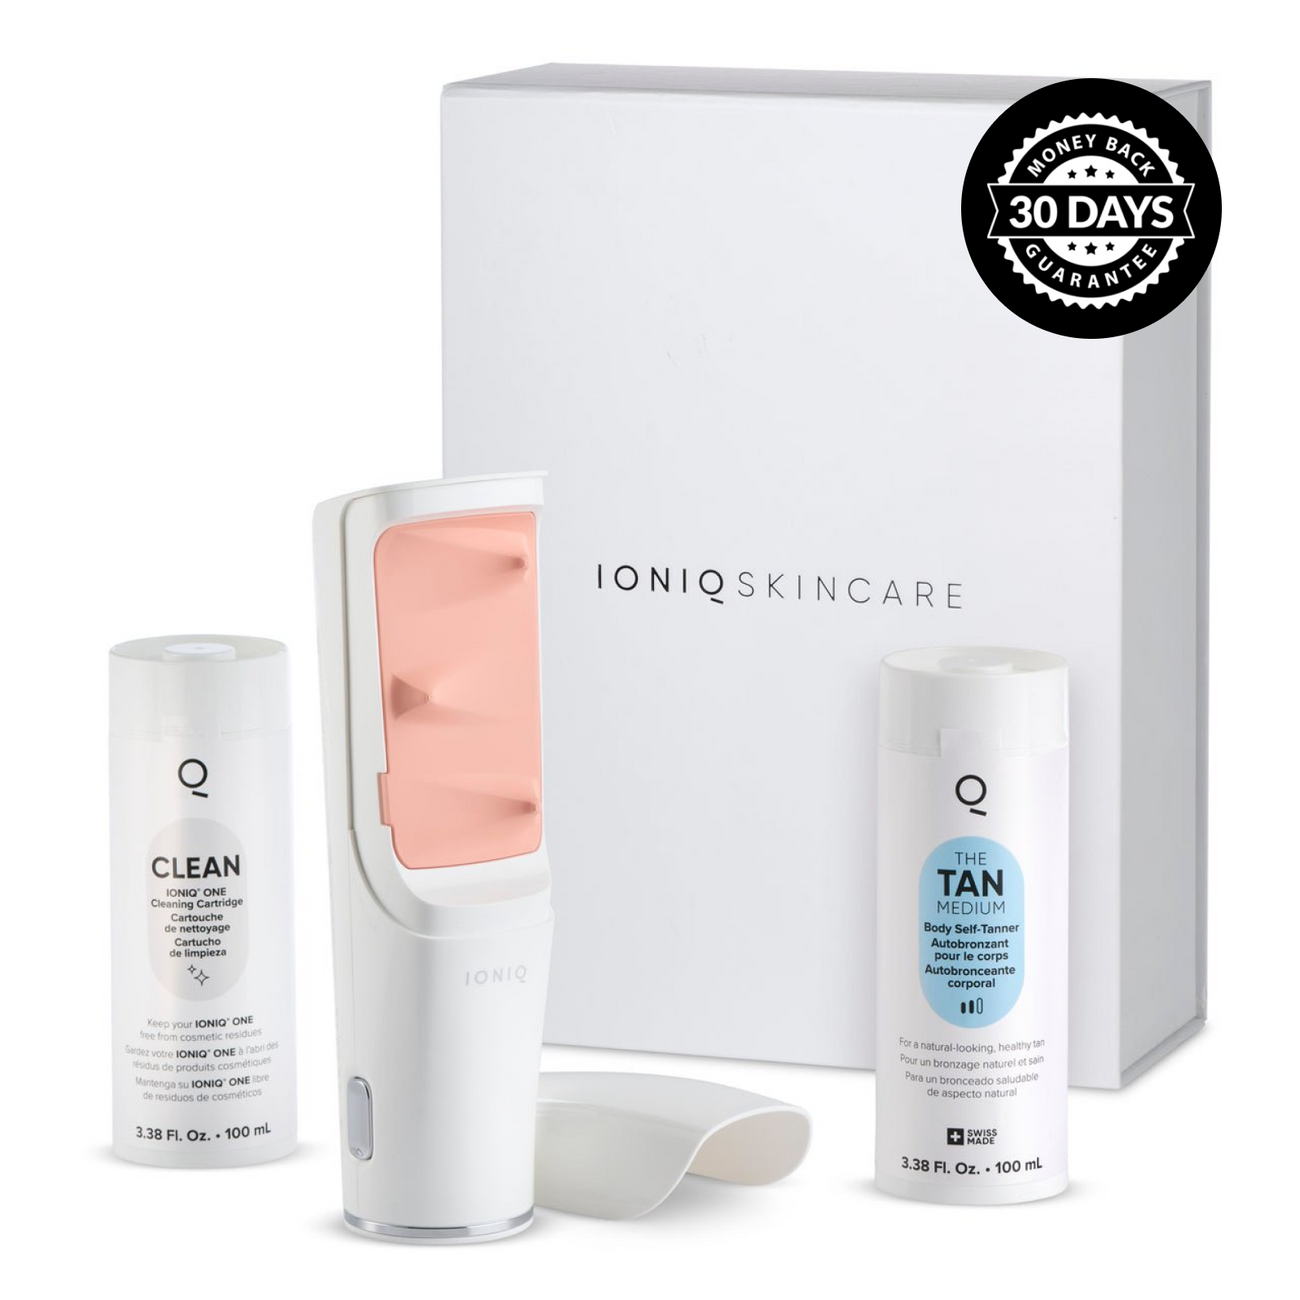
People are skipping the salon and choosing self-tanning at home for one main reason: control. No more scheduling appointments or dealing with the risks of UV exposure. Add in high-performing devices like the IONIQ ONE Sprayer + TAN, an at-home spray tan system and it's easy to see why more people are making the switch.
What This Self-Tanning Guide Covers
This comprehensive guide walks you through everything you need to know about how to self tan at home:
-
Benefits and savings
-
Product types and how they work
-
Step-by-step application
-
Maintenance and removal
-
Tips by skin type and season
Benefits of Self-Tanning at Home
Cost Savings Compared to Salons
Tanning salons charge around $65 per session. That adds $3,380+ per year if you're tanning weekly. Factor in gas, parking, and time spent commuting—you're easily adding another $200 - $300 yearly.
Compare that to a modern solution like the IONIQ: cordless, reusable, and efficient. Two to three full-body applications per cartridge means fewer refills, no hidden costs, and no travel required.
Convenience and Privacy
Salons require booking, commuting, and undressing in front of strangers. At home, you tan on your schedule, in your own space. IONIQ ONE Sprayer's 360-degree spray and magnetic skin tech mean you can reach every spot on your own.
Safer Alternative to UV Tanning
Tanning beds are proven to increase skin cancer risk, speed up aging, and cause sunspots. They’re inconsistent too—missing spots are common.
Types of At-Home Self-Tanners Explained
Lotions, Mousses, Gels, Sprays, Drops
-
Lotions: Easy for beginners. But can be streaky, slow to dry, may stain hands or clothes, and often fade unevenly.
-
Mousses: Light. But dry quickly, so mistakes are hard to fix; application can be sticky and usually needs a mitt.
-
Gels: Cooling. May feel tacky, offer less intense color, and can be hard to see during application.
-
Sprays: Great for covering hard-to-reach spots like the back, but overspray and streaking are common without proper prep.
-
Drops: Mix with moisturizer for subtle glow control. Easy to miscalculate amounts, tough to mix evenly, and results can vary based on your base product.
-
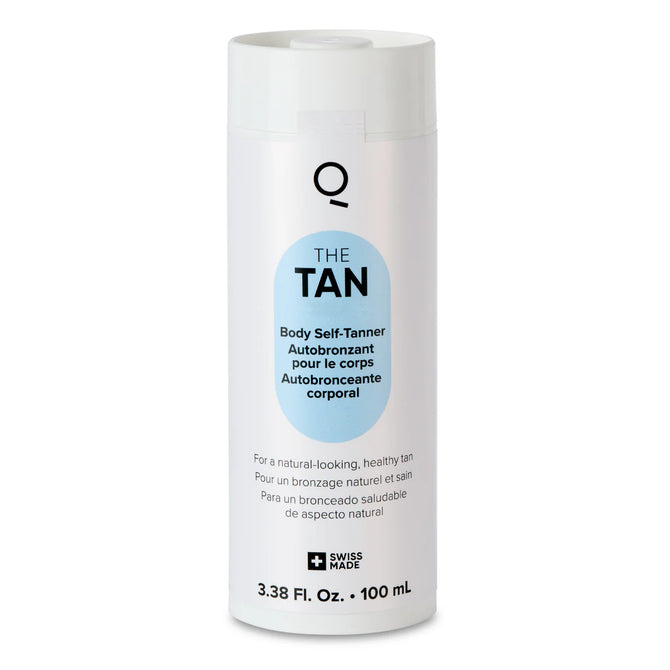
IONIQ ONE Sprayer + TAN: The most advanced option. This smart, sprayer uses Magnetic Skin Technology to deliver perfectly even, streak-free coverage —no rubbing, no guesswork. It's non-drying, mess-free, and ideal for full-body application, even on hard-to-reach areas like the back. Unlike other formats, IONIQ ONE Sprayer + TAN combines precision, speed, and skin care in one device.
When it comes to self-tanning at home, how you apply it matters as much as what you use. Lotions are beginner-friendly but can fade unevenly. Mousses dry fast but leave little room for error. Gels feel cool but can be hard to control. Sprays help with tricky spots but often lead to overspray. Drops offer customization but require careful mixing. Each method has trade-offs, so knowing how they work helps you choose the right one for your self-tanning routine at home.
Gradual vs. Instant Tanners
-
Gradual tanners build color over several days.
-
Instant tanners like the IONIQ ONE Sprayer develop in 6 - 8 hours.
Natural and Organic Options
Look for self-tanning products that are free from parabens, silicones, and sulfates. Choosing cleaner formulas makes self-tanning at home easier on your skin and your routine. The products should give you natural-looking results without relying on harsh ingredients.
Face vs. Body Formulations
Face tanners are usually lighter and designed not to clog pores. While some people use the same regular self-tanner for face and body, others opt for a formula made specifically for the face. How you approach it depends on your skin and comfort level with self-tanning at home. IONIQ Skincare’s wraparound effect ensures that every drop of mist sticks to your skin like a magnet
Magnetic Skin Technology
I want to show you how really effective it is.
“Beautiful glowing tan”
Fine mist that reaches a very tricky spot like even my back.
“Very simple to spray my face”
Technology that attracts mist like a magnet.
“Smooth and even tan”
Tanning my back is the easiest it’s ever been.
“Absolutely amazing”
How At-Home Self-Tanners Work
The Role of DHA (Dihydroxyacetone)
DHA is the active ingredient in most self-tanners. It reacts with amino acids in the top skin layer to create a browning effect—without affecting deeper skin layers or requiring UV exposure.
How Color Develops on Your Skin
Self-tanning color with regular tanners typically begins to develop within 2 - 4 hours and reaches its full effect around 6 - 8 hours. Knowing how the process works helps you plan your routine and get the most even, streak-free results when tanning at home.
Factors That Impact Results with Regular At-Home Self-Tanners
-
Skin prep (exfoliation and moisturizing)
-
Skin type and tone
-
Application technique
-
Product quality and freshness
Choosing the Right Self-Tanner for Your Skin Type
Fair, Medium, Olive, and Deep Skin Tones
-
Fair: Use light or gradual self-tanners to avoid orange tones.
-
Medium: Can handle medium to dark self-tanners.
-
Olive: Warm-based self-tanners work well.
-
Deep: Look for deeper shades with red or violet undertones.
Dry vs. Oily Skin Considerations
-
Dry skin: Use moisturizing formulas.
-
Oily skin: Use lighter formulas that absorb better.
Hypoallergenic and Sensitive Skin Options
Choose self-tanner formulas with fewer additives and soothing ingredients like aloe or chamomile. For example, self-tanning at home with IONIQ is safe for all skin types. The tanner’s formula is specially designed for sensitive skin, delivering a gentle, irritation-free tanning experience.
Essential Prep Before Using a Regular Self-Tanner
Exfoliation Techniques (and What to Avoid)
Use a gentle scrub or mitt 24 hours before tanning. Avoid oil-based exfoliators that can leave residue and block the tanner.
Hair Removal Timing
Shave or wax at least 24 hours before. This gives skin time to settle and avoids irritation.
Moisturizing Dos and Don’ts
Moisturize dry areas like elbows, knees, and ankles right before applying tanner. Avoid full-body moisturization just before tanning—it can dilute the product.
Nail and Cuticle Protection
Apply a layer of balm or petroleum jelly to nails and cuticles to prevent staining.
Skipping proper prep can ruin your self-tanning results at home. If you don’t exfoliate right, the traditional self-tanner can cling to dry patches. Shaving or waxing too close to tanning can lead to irritation. Moisturizing the wrong way can block or dilute regular self-tanners. And if you forget to protect your nails and cuticles, you’ll be scrubbing off stains for days. Regular self-tanners need a careful routine—knowing how to prep is just as important as the product itself.
Step-by-Step Application Guide with Regular At-Home Self-Tanners
Tools You’ll Need (Mitt, Brush, Back Applicator)
-
Tanning mitt: For streak-free blending
-
Brush: Useful for hands, feet, and face
-
Back applicator: Adds just enough reach to make tanning your back simple.
Most traditional self-tanners come with a checklist—mitts for blending, brushes for tricky spots, back applicators to reach behind you, and gloves to avoid stained hands. It’s a process. But with IONIQ, you can leave all that behind. Its smart spray system handles even, all-over coverage on its own, including hard-to-reach areas like the back. You don’t need extra tools, and you don’t need to prep your skin with exfoliating or waxing beforehand. Self-tanning at home becomes more relaxed, more natural—just spray and let it work.
How to Apply to Each Body Part (Legs, Arms, Face, Back)
Start from the legs and work your way up. Apply in circular motions.
Blending Tricks for Knees, Elbows, and Ankles
Use less product on these areas or blend with a damp sponge afterward.
Self-Tanning the Face
Should You Use a Separate Product?
Not always. If your self-tanner is gentle and non-comedogenic, it can be safely used on your face as well.
Application Tips for Natural-Looking Results
Apply with a clean brush or fingertips. Blend into the hairline and jaw.
How to Avoid Breakouts
Use a product designed for sensitive skin. Wash your face before application and avoid heavy moisturizers underneath.
Common Mistakes with Regular At-Home Self-Tanners and How to Avoid Them
Streaks, Patches, and Orange Tones
Usually caused by poor prep or too much product. Stick to even, light layers.
Over-application and Product Buildup
Exfoliate between tans and avoid layering more product without fading the previous one.
What to Do If You Mess Up
Use baking soda, lemon juice, or a tan eraser to fix small mistakes. For bigger issues, start fresh after exfoliating.
Self-tanning with regular tanners at home can go wrong fast if you’re not careful. Streaks, orange tones, and patchy spots usually come down to poor prep or applying too much. Knowing how to layer lightly, when to exfoliate, and how to fix mistakes makes a big difference. Self-tanning isn’t just about the product—it’s about the process. Understanding how to avoid these common errors helps you get better results and a more natural finish at home.
Maintaining Your Tan
How Long Regular Self-Tans Last
Most traditional tans last 5 - 7 days.
The IONIQ ONE Sprayer + TAN typically lasts 7 - 9 days, so you can enjoy a natural glow for over a week without constant reapplication. Overall, self-tanning at home with IONIQ means no stains and no stress. Its aloe-based formula stays off your clothes and sheets, and the cordless sprayer ensures quick, even coverage without the mess.
When and How to Moisturize
With traditional tans, it’s important to moisturize daily—especially after showers—to help lock in the color and prevent patchiness.
Tips for Fading Evenly
When it comes to self-tanning with traditional products, avoid hot baths and exfoliate gently every few days to keep your color even and help it last longer.
When to Reapply
Every 5 - 7 days for gradual tanners; weekly for instant ones.
How to Remove or Correct a Self-Tan
DIY Removal Methods (Baking Soda, Lemon Juice, etc.)
Mix baking soda with water or use lemon juice on a cotton pad.
Exfoliation and Tan Erasers
Use a mitt and a tan eraser product to lift color without irritation.
When to Start Fresh
If the tan is patchy and uneven, it’s best to exfoliate and begin again.
Seasonal Self-Tanning Tips with Traditional Tans
Summer vs. Winter Application Differences
Skin tends to be drier in winter, so prep with extra care. In summer, lighter layers may suffice.
Pre-Vacation Tanning
Tan 1 - 2 days before your trip for best color payoff.
Tanning Before Events or Photos
Time your tan 1 - 2 days before to allow it to settle and look most natural. “Device's key ingredient (DHA) for tanning is FDA-approved” “It creates a streak-free, beautiful bronze without the help of a pro.” “Achieving an even, sun-kissed glow has never been easier” “Perfect DIY spray tan with ease and no mess.”
Jenna Igneri
Britt Fallon
![]()
![]()
![]()

Self-Tanning and Skincare Routines with Regular Tans
When to Apply Serums, SPF, and Moisturizers
Apply regular self-tanner on clean, dry skin. Use serums after the tan has set (8+ hours). Always layer SPF daily.
Compatible Ingredients and What to Avoid
Avoid acids (like AHAs/BHAs) right before tanning—they exfoliate and can create patchiness. Hyaluronic acid and aloe are safe and hydrating.
Layering with Makeup
Once your traditional self-tanner has set, keep your look fresh with a dewy foundation or bronzer. These products enhance your glow without clogging pores—perfect for maintaining a natural finish after self-tanning at home.
Self-Tanning for Men
Tailored Product Recommendations
Men’s skin can be oilier and thicker. Lightweight sprays or gels work well. Also self-tanning at home is hassle-free with the IONIQ. Its even spray application glides smoothly over body hair, ensuring consistent, natural-looking coverage without patchiness.
Application Techniques with Regular Tanners for Facial Hair and Body Hair
Use a brush to blend near beards. Spray lightly over chest and legs, then pat with mitt for even absorption.
Myths and Misconceptions About Self-Tanning and Traditional Tans
"Self-tanners protect you from the sun" and other myths
They don’t. Always wear sunscreen — regular self-tanners don’t provide any UV protection. Even when you’ve achieved a glow at home, knowing how to protect your skin outdoors is essential.
Truth About DHA and Skin Safety
DHA, the active ingredient in most self-tanners, is FDA-approved and safe for topical use. Still, not all formulas are created equal. When self-tanning at home, it’s important to choose high-quality products that include skin-soothing ingredients like aloe vera, hyaluronic acid, or chamomile to help reduce irritation and keep your skin hydrated. Some traditional tanners can be drying or harsh, especially on sensitive areas like the face or neck, so it pays to know how your skin reacts and what ingredients to look for. A well-formulated self-tanner not only delivers color but also supports your skin’s health, making your glow last longer and look more natural.
How to Tan at Home for Beginners
New to self-tanning? Applying regular self-tanners at home involves a few essential steps.
Begin with clean, dry skin. Exfoliate gently to remove dead skin and avoid patchy results, but skip oil-based scrubs—they can leave a residue that interferes with the traditional tanner. Choose a format you're comfortable using and apply the product in sections, making sure to blend well around areas like knees, elbows, and ankles. Let it dry completely before getting dressed, and avoid water or sweating for several hours. Learning how to apply evenly takes some practice, but sticking to a simple, consistent routine helps avoid common mistakes.
Tips for first-timers:
-
Do a patch test 24 hours in advance
-
Start with legs before moving to trickier areas like arms and face
-
Use daylight when applying for better visibility
Travel-Friendly Self-Tanning Tips
Vacations often mean more skin exposure, but reliable self-tanning options aren't always available. That’s where self-tanning at home comes in. Knowing how to build a natural-looking glow before your trip can save you time, prevent sun damage, and help you feel more confident from day one. Whether you're packing light or prepping early, self-tanning at home gives you control over how you look, wherever you’re headed.
Why tan before you fly:
-
You avoid inconsistent sun exposure
-
No need for risky last-minute UV tanning
Packing list for regular tans:
-
Compact tanning mitt
-
Travel-size moisturizer
-
Extra cartridges
Skin Concerns and Self-Tanning
Can You Use Self-Tanner If You Have Acne?
Yes—but it’s important to choose a product that won’t clog pores. Look for non-comedogenic formulas and avoid oily sprays. For example, The IONIQ ONE Sprayer is lightweight and doesn’t require rubbing, which reduces the chance of irritation or breakouts.
Tips using regular tanners:
-
Avoid active breakouts when possible
-
Use a clean brush or mist instead of hands
-
Wait for acne treatments to absorb fully before applying tanner
Self-Tanning with Eczema or Psoriasis
Sensitive skin needs extra attention, especially when self-tanning at home. Some ingredients in regular tanners can cause irritation or flare-ups, so knowing how to choose the right product is key. Always patch-test first and look for fragrance-free, calming formulas to avoid unwanted reactions while still achieving a smooth, even glow.
Best Practices:
-
Moisturize well before and after
-
Avoid tanning over inflamed areas
-
Use gentle, aloe-based products
Dark Spots, Scars, and Stretch Marks
Applying regular self-tanners at home won’t cover imperfections the way makeup does, but it can help even out your overall skin tone. Knowing how your skin reacts is important—scars, dry spots, or uneven texture may absorb color differently, so results can vary. A careful, consistent routine helps manage these differences for a more balanced look.
What Helps:
-
Blend extra carefully around discoloration
-
Apply a light layer of barrier cream over raised scars or thickened areas
-
For more consistent results, especially on textured skin, use the IONIQ ONE Sprayer, the best at-home spray tan for smooth, even coverage.
Self-Tan Fails and How to Avoid Them
|
Problem |
Cause |
Fix |
Why This Doesn’t Happen with IONIQ |
|
Orange tone |
Wrong product for skin tone |
Use cool/neutral-toned tanner |
Uses color-correcting tech to match all skin tones |
|
Patchy finish |
Uneven exfoliation or dry skin |
Exfoliate and reapply evenly |
360° spray tech ensures even, streak-free application |
|
Stained palms |
No mitt used |
Scrub with lemon + baking soda |
Fully hands-free — no need to touch the formula |
|
Tan fading unevenly |
Dry patches or sweating |
Moisturize daily, exfoliate lightly |
Applies a consistent layer that fades gradually |
|
Over-tanned feet/hands |
Product buildup in creases |
Use makeup remover wipes or tan eraser |
Smart spray avoids over-saturating problem zones |
|
Tan not developing |
Product was washed off too soon |
Reapply and leave on 6–8 hours |
Quick-drying, sweat- and water-resistant formula |
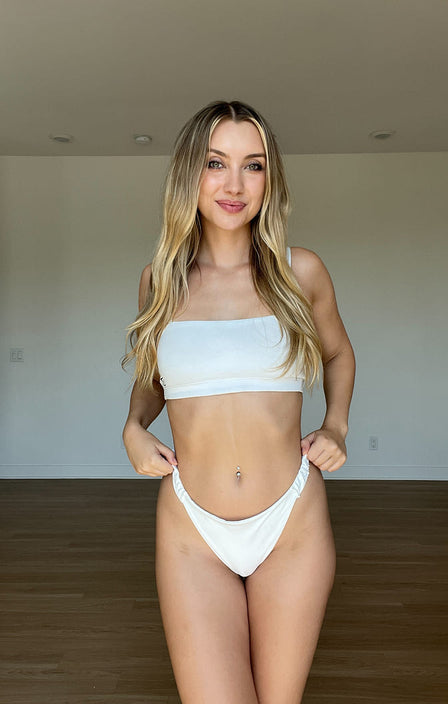
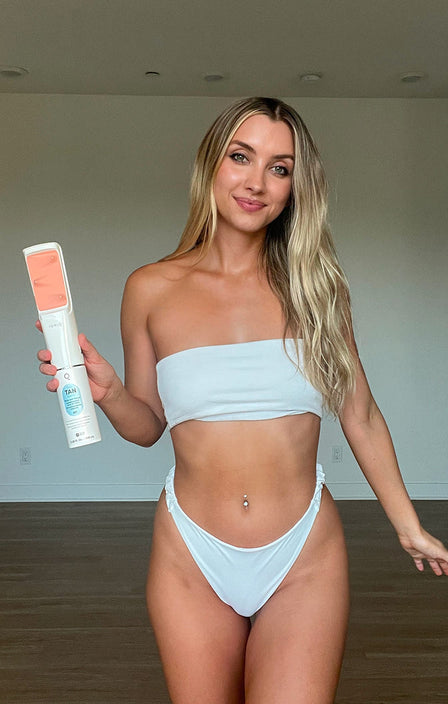
Smart Tanning. Visible Results.
Wrap Around Effect technology delivers an even, streak-free tan — just check the before & after
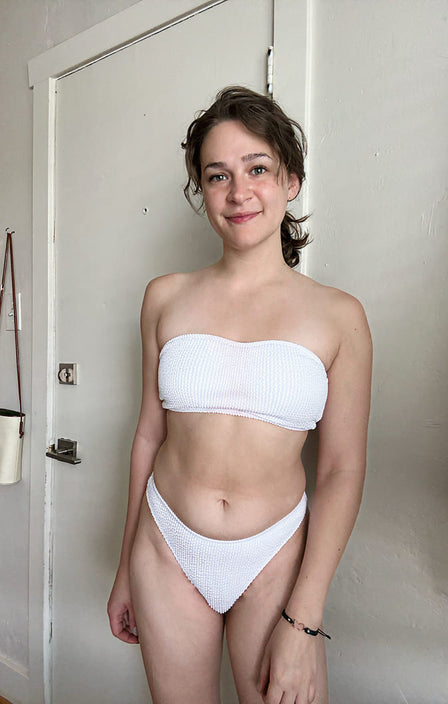 Before
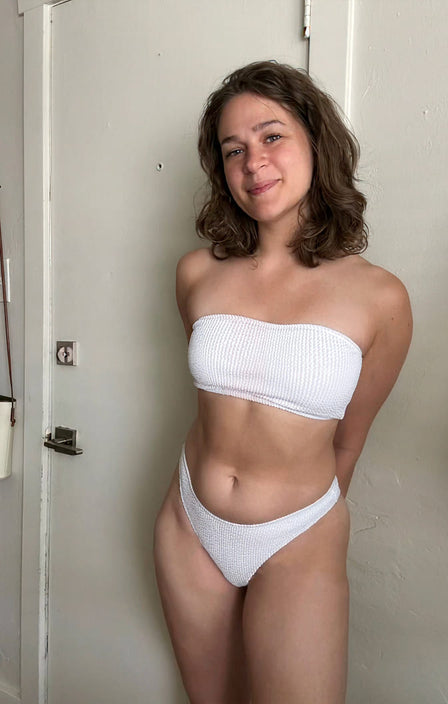 After
TAN Light
After
TAN Light
Worth its weight in gold!
TAN Light
"I use self tanner in the summer and I usually hate it.
Even after years of use I usually still have streaks or dark spots somewhere where I misapplied. Then I had to worry about my sheets and clothes being stained and the horrible smell.
It’s incredible! So easy to use, I swear I made myself nervous reading the instructions over and over for no reason. I have never in 30+years of tanning had such an easy experience."
Amanda B.
Verified customer
 Before
 After
TAN Medium
After
TAN Medium
Great product!!
TAN Medium
"I’ve tried practically everything out there over the last 30 years.
I had an allergic reaction to most of them so I opted for tanning beds and the good old sun. I got melanoma 2015 so that stopped all types of tanning.
Until now. Wow!!
Technology has improved so much!
I’m amazed at how easy it is to use as well as how absolutely flawless it looks!"
Nico
Verified customer
 Before
 After
TAN Dark
After
TAN Dark
Sincere IONIQ Tanner
TAN Dark
"Wow! I took a chance and bumped the color up a notch to dark !!!! I received so many compliments on how even and smooth my tan looks on my face!!
What a high compliment to YOU and YOUR product and to me, because I follow the application instructions :)
Thank you for the prompt receipt of my orders placed AND thank you for caring enough about your product, to inquire about my personal preference and addiction to IONIQ SKINCARE.
Thank you for the gifted product."
Denise T
Verified customer
Fitness Competitions or Stage Events
Smart Tanning. Visible Results.
Wrap Around Effect technology delivers an even, streak-free tan — just check the before & after

Before

After
TAN Light
Worth its weight in gold!
TAN Light
"I use self tanner in the summer and I usually hate it.
Even after years of use I usually still have streaks or dark spots somewhere where I misapplied. Then I had to worry about my sheets and clothes being stained and the horrible smell.
It’s incredible! So easy to use, I swear I made myself nervous reading the instructions over and over for no reason. I have never in 30+years of tanning had such an easy experience."
Amanda B.
Verified customer

Before

After
TAN Medium
Great product!!
TAN Medium
"I’ve tried practically everything out there over the last 30 years.
I had an allergic reaction to most of them so I opted for tanning beds and the good old sun. I got melanoma 2015 so that stopped all types of tanning.
Until now. Wow!!
Technology has improved so much!
I’m amazed at how easy it is to use as well as how absolutely flawless it looks!"
Nico
Verified customer

Before

After
TAN Dark
Sincere IONIQ Tanner
TAN Dark
"Wow! I took a chance and bumped the color up a notch to dark !!!! I received so many compliments on how even and smooth my tan looks on my face!!
What a high compliment to YOU and YOUR product and to me, because I follow the application instructions :)
Thank you for the prompt receipt of my orders placed AND thank you for caring enough about your product, to inquire about my personal preference and addiction to IONIQ SKINCARE.
Thank you for the gifted product."
Denise T
Verified customer
For fitness competitions or stage events, self-tanning at home needs to be more precise and consistent. These settings call for deeper color, and knowing how to layer the tanner properly gives you control without streaks or buildup. With the right approach, you can achieve a strong, even finish that holds up under bright lights.
Sustainability and At-Home Tanning
Eco-Conscious Formulas
Eco-conscious self-tanning at home starts with knowing how to choose the right formula. Look for tanners that are vegan, cruelty-free, and free from parabens and sulfates. These options support both your skin and your values, keeping your routine clean and mindful.
Tanning for Different Lifestyles
Busy Parents
For busy parents juggling work, childcare, and everything in between, self-tanning at home offers a practical way to fit in a bit of self-care. Knowing how to apply a quick, even tan can save time and skip the need for salon visits—making it easier to feel refreshed without disrupting your routine.
Benefits for Parents:
-
Quick and easy application with no cleanup
-
Streak-free results while multitasking at home
-
Safe formula for postpartum or sensitive skin
Students and Young Adults
Spring break, classes, and everything in between—students want to look good without the mess. That’s where self-tanning at home comes in. It doesn’t take much space, works on your schedule, and doesn’t require a trip to the salon. Learning how to make it part of your routine keeps things simple, no matter how tight your setup is.
Why It Works:
-
Affordable long-term alternative to tanning salons
-
Portable enough for travel and dorm storage
Mature Skin
Aging skin needs extra care, especially when it comes to moisture. Traditional self-tanners can settle into fine lines or cling to dry areas, making the results look uneven. Self-tanning at home with aging skin is still effective when you know how to prep properly—focus on hydration, gentle exfoliation, and careful application to get a smooth, natural-looking finish.
Tips for Aging Skin:
-
Exfoliate gently and moisturize daily
-
Use a light hand around creases and joints
-
Choose aloe-infused formulas
Inclusive Tanning for All Skin Tones
Deep and Dark Skin Tones
Self-tanning at home isn’t just for lighter skin tones. For deeper and darker complexions, it can enhance natural undertones and add a subtle, healthy glow without altering the richness of your color. Knowing how to choose the right shade and apply it evenly helps achieve a smooth, balanced finish that works with your skin—not against it.
Why It Matters:
-
Boosts radiance and evens tone
-
Safe alternative to makeup for body contouring
-
No ashy or orange hues with properly formulated products
Tanning and Body Confidence
How Self-Tanning Supports Self-Esteem
Self-tanning at home isn’t just about appearance—it’s about how you feel. Building a routine that gives you a consistent glow can boost confidence and help you feel more at ease in your own skin. It’s a small act of care that can have a big impact.
Confidence Boosting Effects:
-
Enhances skin appearance without makeup
-
Creates a natural contour that defines features
-
Helps users feel ready for swimsuits, shorts, and events
Reclaiming Your Glow Post-Illness or Pregnancy
After physical changes or recovery—whether from surgery, illness, or a major life shift—self-tanning at home can be more than just cosmetic. It’s a quiet, personal step in reclaiming your routine and reconnecting with your body. Because it’s done on your terms, in your own space, it offers privacy and control at a time when those things may feel limited. Knowing how to ease back in with something as simple as self-tanning can help restore a sense of normalcy and boost emotional well-being without pressure or expectation.
Why It Helps:
-
Offers a simple, at-home ritual to boost self-image
-
Requires no exposure or judgment from others
-
Works with all skin types and tones
Creating a Self-Tanning Ritual
Make It a Moment of Self-Care
Self-tanning at home can be more than just another task on your list—it can be a moment for yourself. Instead of rushing through it, take the time to make it intentional. Put on some music, light a candle, and focus on how you feel as you go. Turning the process into a ritual can make self-tanning as much about self-care as it is about appearance.
Suggestions for a Ritual:
-
Exfoliate in a warm bath with calming oils
-
Apply tanner mindfully, starting from the feet upward
-
Finish with a hydrating body mist or lotion after it sets
Tanning for Athletes and Performers
Why Athletes Tan
Athletes often use self-tanners to enhance muscle definition and achieve a polished look under harsh lighting. For sports like bodybuilding, dance, or gymnastics, a reliable tan can elevate stage presence and highlight physical conditioning.
What Makes IONIQ One Sprayer + Tan a Go-To for Athletes:
-
Even coverage on hard-to-reach areas
-
Quick-drying, sweat-resistant formula
-
No risk of color rubbing off on uniforms or costumes
Performing Artists and On-Camera Talent
Under stage lights or in front of a camera, natural skin tones can easily look washed out. That’s why self-tanning at home is a go-to for performers, models, and content creators. Knowing how to get a consistent, warm glow helps maintain a polished look that stands up to bright lighting and high-definition lenses—without needing hours in a makeup chair.
Benefits for Performers:
-
Streak-free tan that holds up under lights
-
Color develops evenly, no blotching on HD cameras
-
Aloe-based formula ideal for frequent use
Preparing for Your First Tan
What to Expect from the First Use
Self-tanning at home for the first time doesn’t have to be stressful, but preparation is key. Knowing how to get your skin ready. The more intentional you are with the process, the better the results. Take it slow, focus on even application, and give yourself room to learn. With each try, the routine becomes more natural, and your confidence grows along with your glow.
Quick-Start Checklist:
-
Using regular tanners: exfoliate the night before
-
Protect hands, feet, and hairline with balm
-
If you're using a sprayer, hold it 20 - 30 cm from your skin and mist slowly and evenly for consistent coverage
-
Using regular tanners: let dry for 10 - 15 minutes before dressing.
Learning Curve? Minimal.
Worried about the learning curve? Don’t be. The wraparound mist and magnetic skin technology make it feel natural and easy, even if you’ve never used a self-tanning device before. From holiday parties to family gatherings, achieve a flawless tan that lasts all season.
Shop Now
The IONIQ ONE Sprayer
+ TAN Bundle
$299.00
/
Free US shipping
Conclusion
Key Takeaways
Self-tanning at home saves time, money, and unnecessary exposure to UV rays. You avoid the risks of tanning beds and the hassle of appointments. With the right prep and a quality self-tanner, you can learn how to get smooth, even results without leaving your space.
Encouragement to Start Tanning at Home with Confidence
Self-tanning at home with IONIQ puts you in control—no crowded salons, no harsh lighting, no guesswork. Ready to try it for yourself? Start building your glow at home, your way.